A glass tube level gauge can expose an operator to sharp fragments, hot liquid, toxic vapour and sudden pressure release when the wrong design or operating sequence is used. By the end, you will know how to check the service, install and pressurise the gauge, inspect it during operation, and isolate it safely for blowdown or maintenance.
Key takeaways
- Check pressure, temperature, liquid compatibility, and gauge length before installation.
- Install supports and connections without bending, twisting, or loading the glass.
- Open isolation valves slowly and keep the shield fitted during operation.
- Close valves, depressurise, drain, and barricade the area before replacing damaged glass.
Confirm that the gauge suits the vessel and liquid
A glass tube level gauge suits a vessel only when the complete assembly can contain the liquid at its actual pressure and temperature without making glass failure unacceptable.
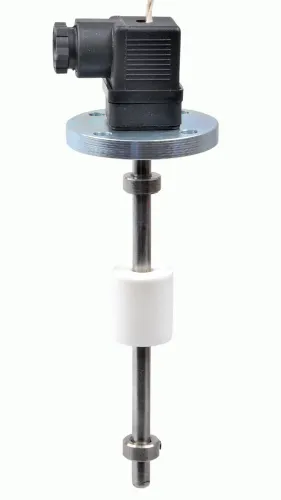
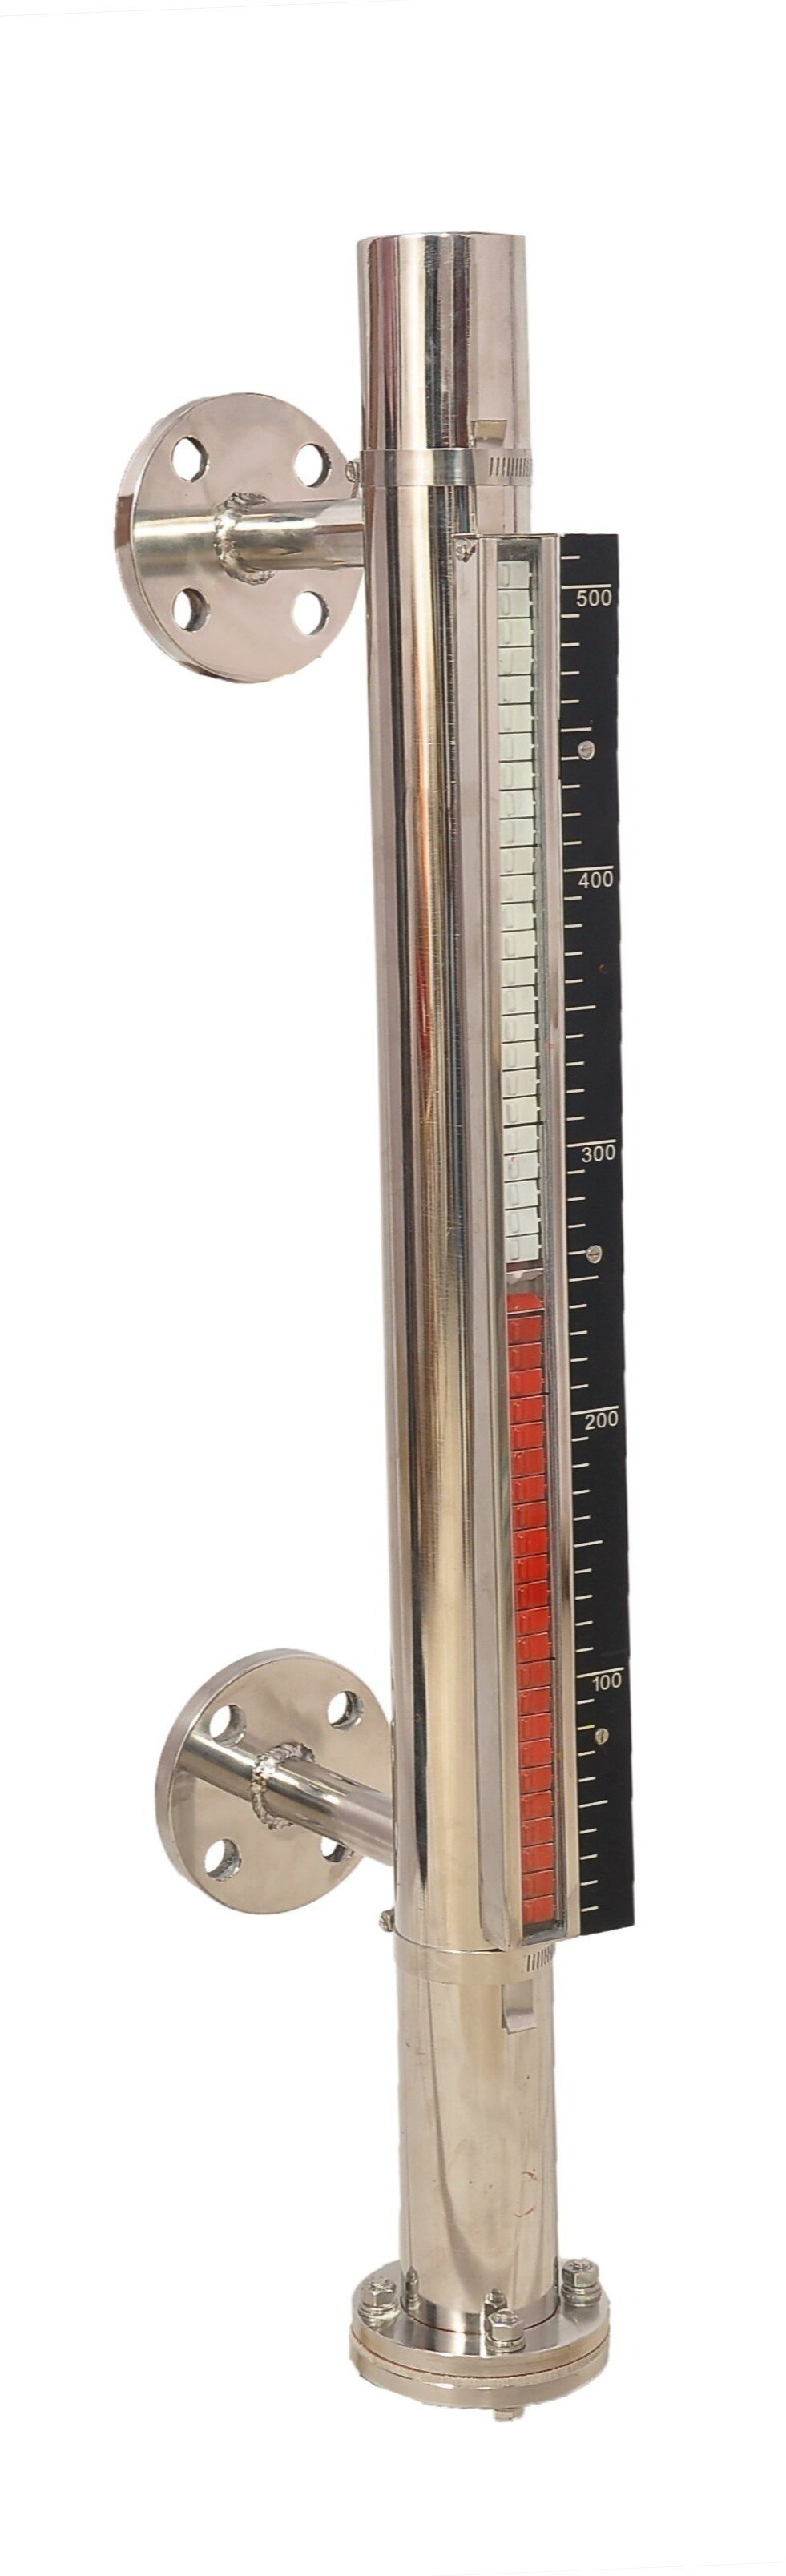
For toxic, corrosive, flammable, very hot or otherwise hazardous liquids, choose a design with suitable shielding, isolation and containment; a magnetic level indicator or remote transmitter is often safer.
Before ordering, confirm these service details with the manufacturer:
1. Record the vessel’s maximum operating and design pressure, normal and maximum temperature, liquid composition, specific gravity and connection size. Rate the glass tube, seals, valves and end fittings as one assembly; the vessel or valve rating alone does not establish the gauge rating.
2. Specify the glass and wetted materials. Borosilicate glass resists many chemicals and limits thermal expansion, but rapid filling with hot liquid, steam entering a cold gauge, sudden depressurisation or cold washing of a hot tube can cause thermal shock and breakage.
3. Check whether the gauge has a protector, automatic shutoff or isolation valves suitable for the consequence of a tube failure. Do not select an exposed tube where fragments or released liquid could injure people or contaminate the area.
4. Treat the instrument as a direct-reading hydrostatic indicator, not as an independent high-level trip. Retain a separate alarm, shutdown switch or overfill-protection system.
During commissioning, inspect the tube, seals, fittings and valves, then open isolation valves gradually so the gauge approaches process pressure and temperature without shock. Check for leaks, a clear indication, correct response to level changes and an unobstructed blowdown before relying on it.
Install and commission the assembly without loading the glass
Connect the gauge only after the vessel nozzles and connecting pipework are aligned. Do not pull, twist or bend the gauge into position, and do not use its valves or glass tube as a handle. Tighten connections evenly without transferring pipe strain into the end fittings.
Provide an independent bracket when the gauge’s weight, long pipe runs or vibration could load the assembly. Leave enough clearance to read the tube, operate the isolation valves and remove the protector or tube during maintenance.
Confirm that the complete glass tube level gauge assembly—not only the vessel or valves—is documented for the service pressure and temperature.
Commission it without forcing cold glass to accept a hot process:
- Inspect the tube, seals, end fittings, valves and protector for cracks, chips, loose parts or shipping damage.
- Confirm that the drain or blowdown is closed and that the connections are leak-free before introducing liquid.
- Open the upper isolation valve gradually to equalise pressure, then open the lower valve slowly so the gauge fills without a surge. Follow the manufacturer’s sequence if it differs.
- Pause while the gauge and liquid approach process temperature. Do not inject steam into a cold gauge, fill it rapidly with hot liquid, or wash a hot tube with cold liquid.
- Check for leakage, a clear and responsive level indication, and an unobstructed blowdown before relying on the reading.
Borosilicate glass resists many chemicals and expands little, but it can still fail from thermal shock. That is central to glass tube level gauge safety.
Use the valves and protective equipment in the correct sequence
Good glass tube level gauge safety starts with a controlled valve sequence, a clear discharge route and protective equipment selected for the liquid, pressure and temperature.
Before opening any valve, inspect the glass for cracks, chips, clouding or loose fittings, confirm the protector is secure, and check that the blowdown line is closed and routed to a safe drain or collection point.
- Wear chemical-resistant gloves, safety glasses, a face shield, protective clothing and safety footwear. Add respiratory protection when the liquid or vapour hazard requires it.
- Clear people from the discharge area. Check that the isolation valves, seals, end fittings and ball-check devices show no damage or leakage.
- With the blowdown valve closed, crack open the upper process isolation valve slowly. Pause to let pressure and temperature equalise, then open the lower isolation valve gradually. Stop if the glass leaks, vibrates, clouds or shows an unexpected level.
- Take the reading from the side, through the protector, without placing your face or hands in front of the glass. Treat the indication as information, not as an overfill alarm or shutdown signal.
- For blowdown, follow the gauge’s marked sequence: isolate the process connections when required, stand clear, and open the drain slowly into the designated system. After discharge stops, close the drain gradually, then restore the isolation valves in the specified order.
To remove glass, seals or valves, close and lock both isolation points, depressurise, drain and purge the chamber before verifying a safe atmosphere. Closing one valve can leave trapped pressure.
Inspect for damage and isolate a failed gauge safely
Unsafe deterioration includes any crack, chip, star-shaped fracture, clouding, staining that hides the liquid line, loose end fitting, damaged protector, hardened seal, or wetness around a seal or valve.
Treat a gauge with unexplained leakage, a blocked drain, or an unreadable tube as failed; do not tap it, wipe it while pressurised, or continue relying on its indication.
- Stop the process according to your site procedure and keep people away from the gauge’s discharge path. A broken tube can release hot liquid, toxic fluid, or glass fragments even when the visible leak is small.
- Close and lock out both process isolation points. Closing one valve can leave pressure trapped inside the gauge chamber.
- Confirm zero pressure at a designated gauge or test point, then open the drain or blowdown into a suitable closed container. Do not remove a fitting until liquid has stopped flowing and the chamber is depressurised.
- Drain residual liquid from the tube and fittings. If the service is flammable, toxic, corrosive, or oxygen-deficient, purge with the specified medium and test the atmosphere before opening the assembly.
- Replace the tube, seals, protector, or valve only after the assembly has cooled to a safe handling temperature. Sudden depressurisation, steam entering cold glass, or cold wash water contacting hot borosilicate glass can cause thermal-shock failure.
Record the defect and keep the failed parts for examination. These steps are central to glass tube level gauge safety and apply to every glass tube level gauge, including one fitted with ball-check devices.
Specify the protection and documentation your application requires
Give the supplier a complete duty description, not only the tank pressure and connection size. Glass tube level gauge applications fail when the glass, seals and valves are selected separately instead of rated as one assembly.
- Identify the liquid, concentration, contaminants, specific gravity, toxicity, flammability and corrosiveness.
- State normal and maximum pressure, vacuum conditions, minimum and maximum temperature, and any rapid heating, cooling or steam exposure.
- Provide vessel nozzle sizes, centre-to-centre dimensions, connection standard, orientation, and the required visible range.
- Specify wetted-material preferences or restrictions, including borosilicate glass, gasket material, valve-body alloy and tube-end fittings.
- Describe the required protection: transparent guard or shield, automatic shut-off valves, drain and vent arrangement, and containment for a broken tube.
- Send the P&ID, vessel data sheet, hazardous-area classification, fluid safety data sheet and any plant material specifications.
Request a drawing and datasheet that show the complete assembly pressure and temperature ratings, glass type, seals, valve configuration and test documentation. The vessel or valve rating alone does not prove that the glass tube level gauge is suitable.
A guard reduces fragment and spray exposure but does not contain every pressure release, so record the required exclusion zone in the operating procedure.
For hazardous service, tell Filpro Sensors Pvt Ltd that glass failure must not release the process liquid; ask whether a magnetic level indicator or remote transmitter better matches the consequence of failure. A direct-reading gauge is not an alarm, shutdown switch or overfill-protection system.
Related product
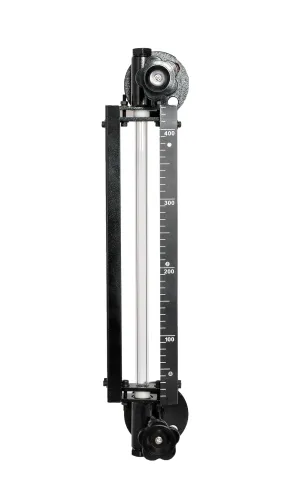
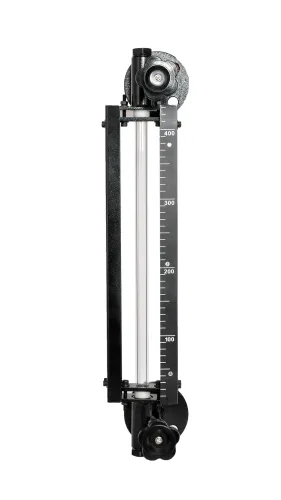
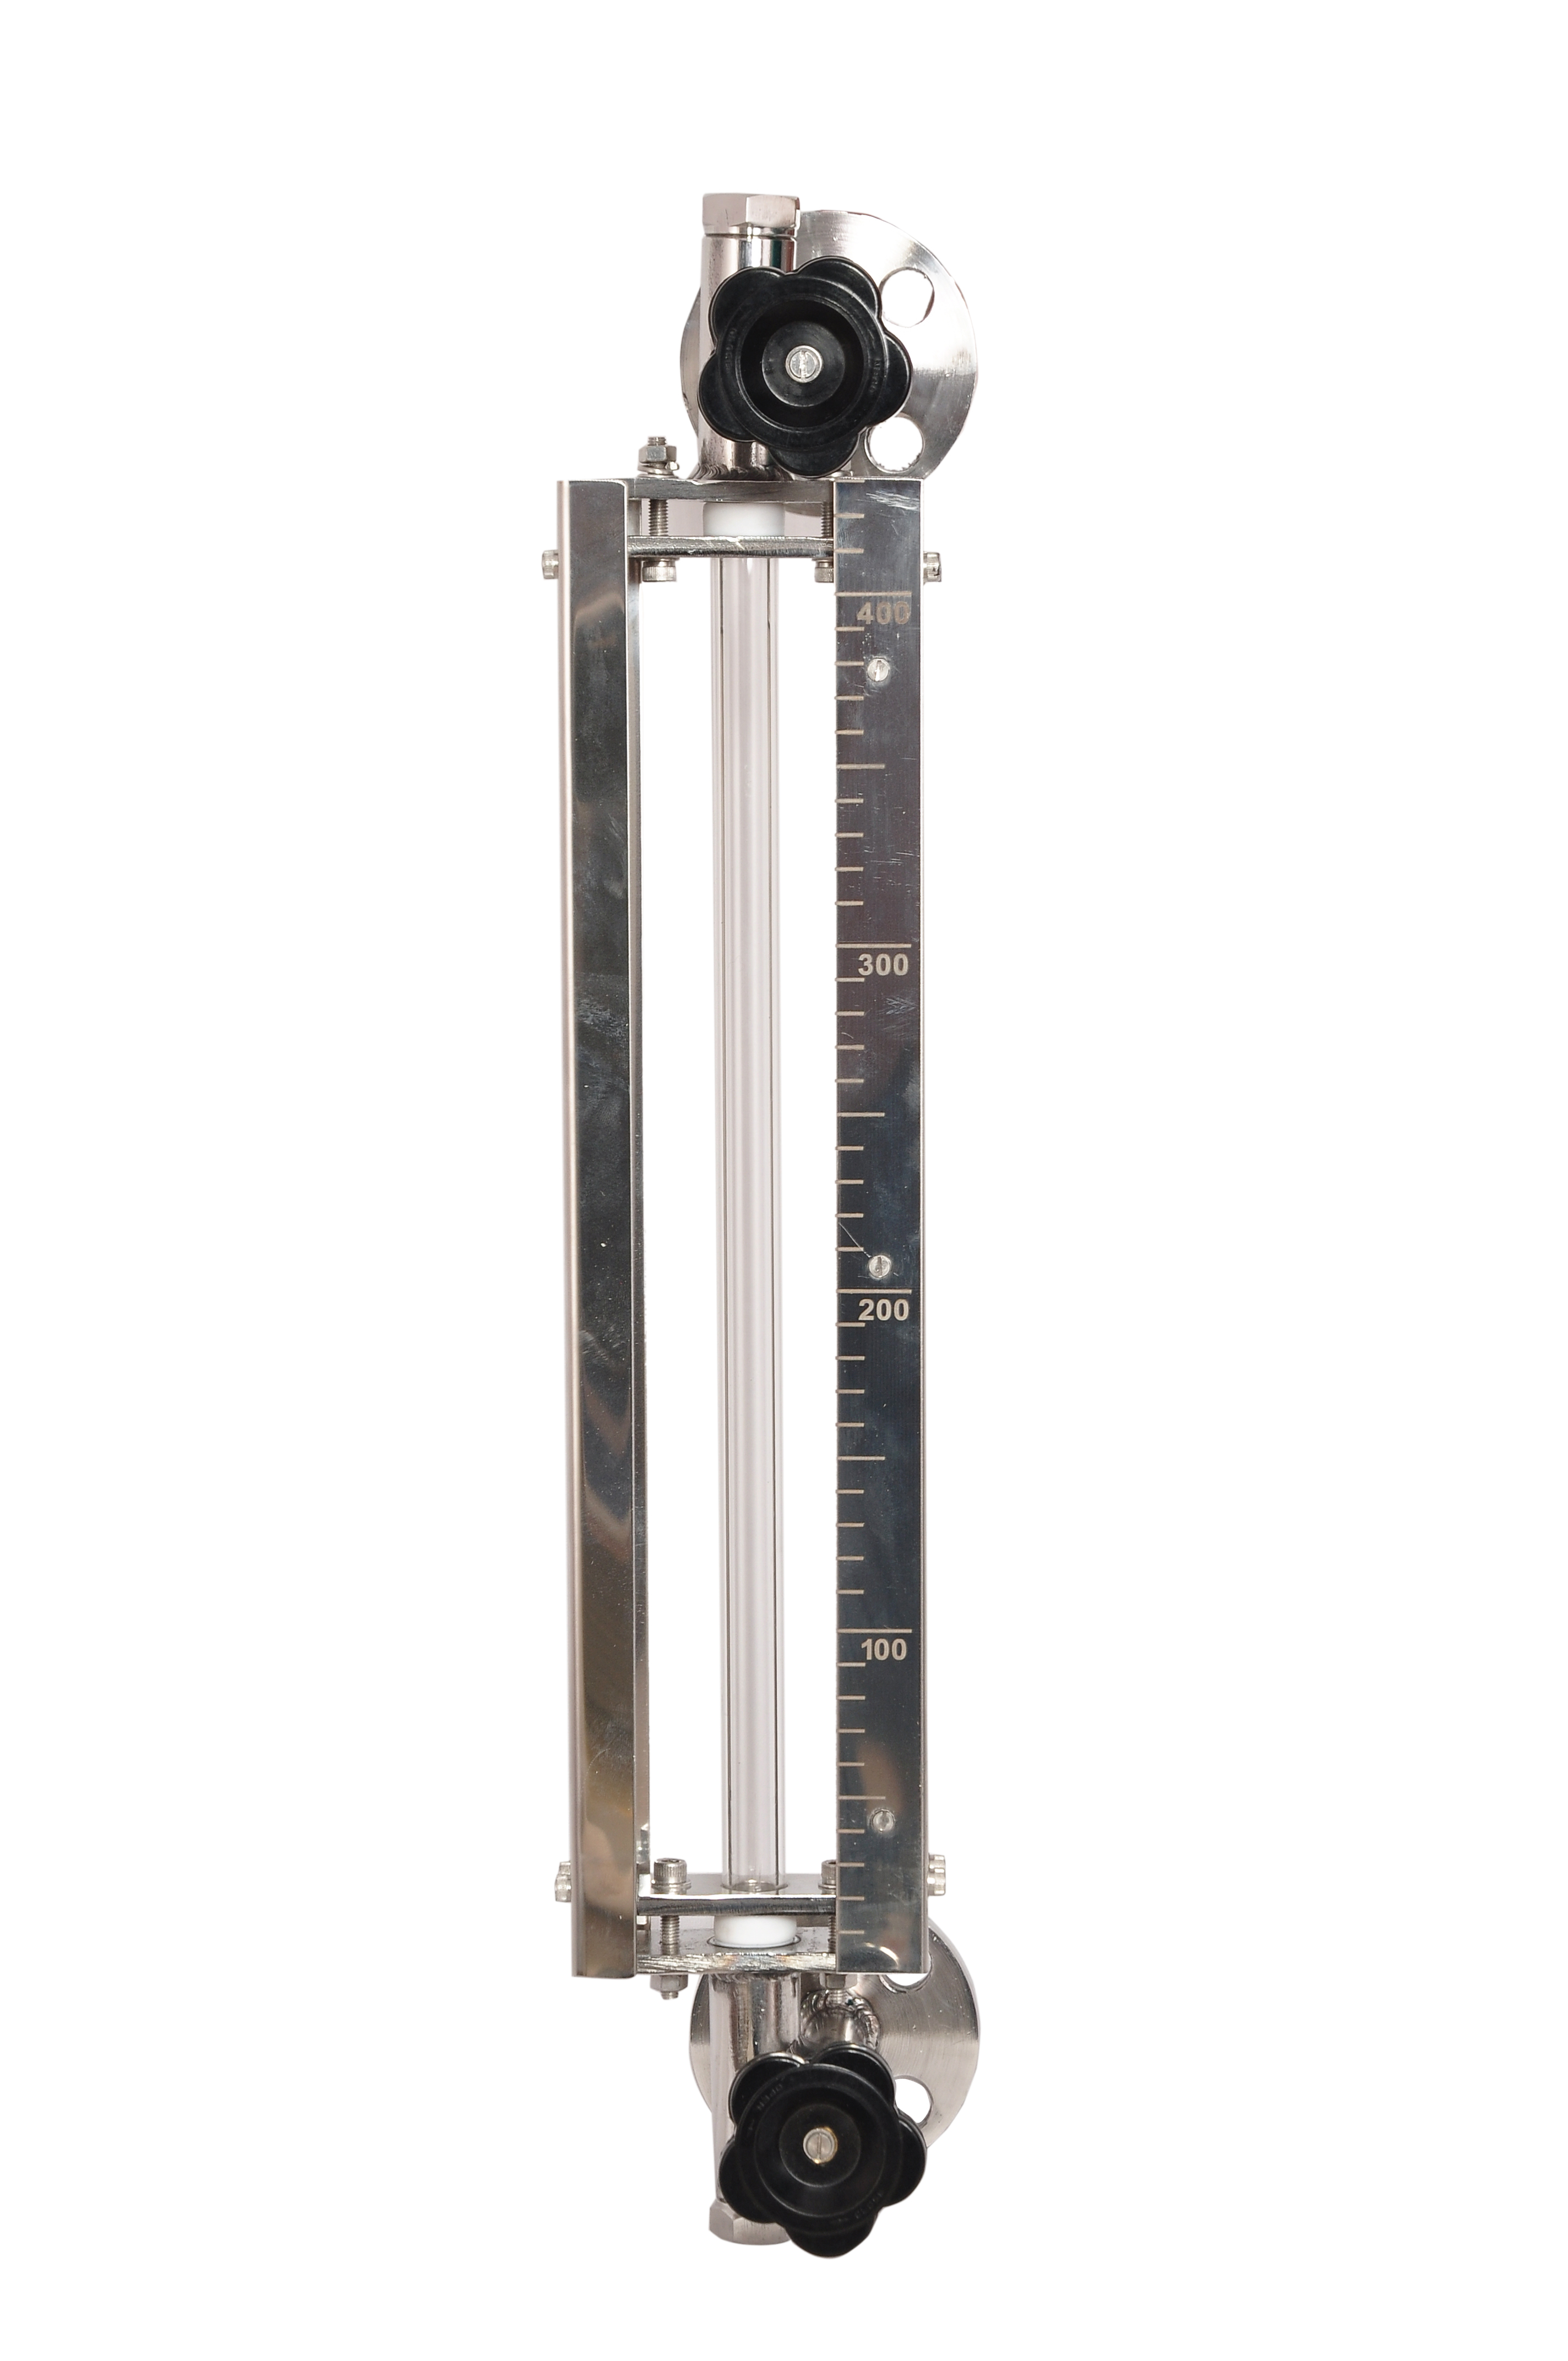 | Level Gauge Tubular Glass Level Indicator is used for visual level indication of liquid in storage and process tanks. View product → |
Frequently asked questions
How do you confirm a glass tube level gauge suits a vessel and liquid?
Compare the gauge’s pressure and temperature ratings with the vessel’s actual operating and design conditions. Confirm that the glass, gaskets, valves, and wetted materials resist the liquid, and check that the visible length covers the required level range.
How should you install and commission a glass tube level gauge?
Align the connections before tightening, support the assembly independently, and prevent piping loads from reaching the glass. Inspect seals and fittings, then introduce liquid gradually to avoid thermal shock, pressure shock, and water hammer.
What is the safe sequence for operating a glass tube level gauge?
Keep the protective shield installed, close the drain, open the upper valve, and open the lower valve slowly. Follow the manufacturer’s equalisation procedure, check for leaks, and never stand directly in front of the glass.
What should you do if the glass tube is cracked or leaking?
Keep people away, close the upper and lower isolation valves from a safe position, shut down the vessel connection, depressurise and drain the gauge, and replace the damaged parts before returning it to service.