The right switch depends on more than tank volume: you must match the float, contact logic, mounting arrangement and electrical load to the tank and pump. By the end, you will have a practical way to specify setpoints, reject unsuitable designs and request the documents needed for a reliable installation.
Key takeaways
- Choose a switch for high level, low level, refill, emptying, or overflow detection.
- Match float material, contact rating, cable length, and mounting to the tank.
- Set separate start and stop levels to prevent rapid pump cycling.
- Protect the float from turbulence, sludge, cables, and obstructions.
Decide what level event the switch must detect
A float level switch for water is a point-level device: it reports that water crossed a setpoint, rather than measuring the tank continuously. As water rises or falls, buoyancy moves the float and changes a mechanical or magnetic contact from open to closed, or closed to open.
Choose the float for the liquid’s actual specific gravity and viscosity, not merely the word water; glycol mixtures, oil contamination and dense suspended solids can alter buoyancy and movement.
| Arrangement | What it detects | When it applies |
|---|---|---|
| One-level switch | A single high or low point | High-level alarm, low-level alarm, or dry-run protection |
| Two-level arrangement | Separate start and stop points | Automatic pump start and stop with switching differential |
| Continuous float transmitter | A changing level signal | Displayed level, trending, or proportional fill control |
Match the float level switch for water tanks to the tank and control task:
- Use a tank-top or vertical switch for an overhead or process tank when the top opening provides access and internal clearance.
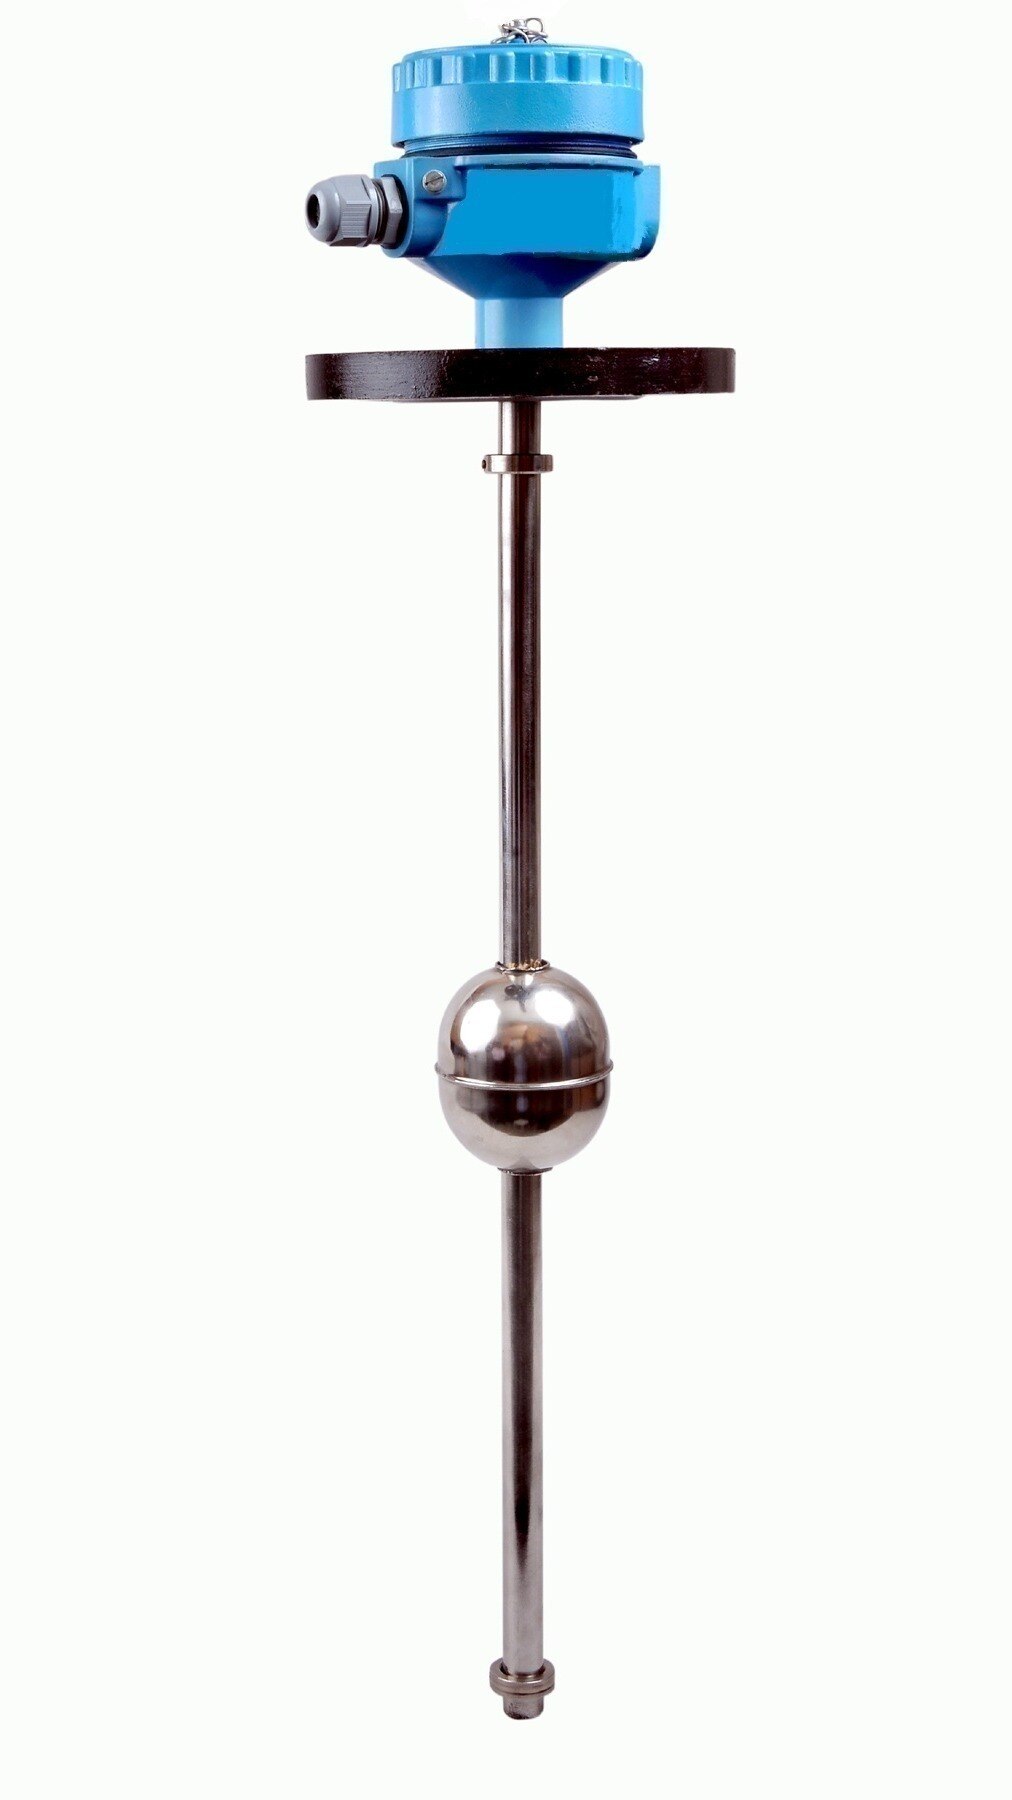
- Use a side-mounted or horizontal unit when tank-top access is blocked. Check the wall penetration, gasket or seal, insertion depth and external pressure boundary.
- Use a cable-suspended float for a sump or underground reservoir. Provide clearance from pumps and walls, support the cable, define the tether length and reference point, and leave a recoverable position for cleaning.
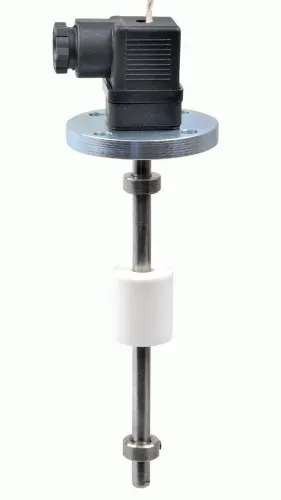
- Use a miniature switch for a compact control input where the available space and electrical load are limited.
Match the switch specifications and mounting to the tank
Select a float level switch for water tanks by matching its process, electrical and mechanical limits to the tank drawing—not by choosing a switch labelled “water.”
1. Record the liquid’s minimum and maximum temperature, tank pressure or vacuum, specific gravity, viscosity and chemical composition. “Water” may mean rainwater, glycol mixture or contaminated wastewater; buoyancy changes with density, and chemicals attack different materials.
2. Specify the switching differential, setpoint tolerance and permitted mounting orientation. Differential is the distance between trip and reset, not measurement accuracy; a small differential can cause repeated switching in a turbulent tank.
3. Confirm supply voltage, switching current, resistive and inductive contact ratings, NO or NC configuration, cable length, electrical connection and ingress-protection rating.
4. Match the mounting thread or flange, gasket, float dimensions and insertion depth to the tank wall. A side-mounted unit needs a sealed pressure boundary and enough external clearance for installation and removal.
5. Select wetted materials for potable water, rainwater, chlorinated water, wastewater or chemically treated water. For drinking-water service, request material and elastomer documentation plus contact approval such as NSF/ANSI 61; stainless steel alone proves nothing.
6. Inspect the tank drawing for wall thickness, top-access clearance, narrow openings, inlet pipes, ladders, baffles, pump suction and every internal obstruction. Mark the setpoint from a defined datum, then verify the float can travel through its full switching path without striking anything.
7. Put all float level switch specifications into the purchase schedule, including number of switching points and required test documents. A missing datum or differential can deliver a switch that is electrically correct but operates at the wrong level.
Set pump levels without overloading the switch
Set pump levels from a defined tank datum, such as the tank floor or outlet centreline. Choose the low stop or dry-run protection height first, then the high start height; usable volume is the tank volume between those two elevations. Calculate the minimum-run volume as pump flow rate × required minimum run time.
If that volume exceeds the selected differential volume, the pump will start and stop rapidly. Increase the differential or reduce the pump flow.
Record float level switch specifications in physical terms:
- State whether the contact is open or closed with the float at low level and at high level. “Normally open” can describe the shipping position, installed low position, or energized control state.
- Define the desired de-energized alarm state separately. A high-level alarm can signal loss of power or a broken cable, while pump control may require the opposite logic.
- Do not connect a float contact directly to a motor or solenoid unless its rating covers starting current and inductive load. Use a relay, contactor, overload protection, or dedicated pump controller. A 0.1 A, 24 V DC miniature M12 switch suits a control input only when that circuit remains within 0.1 A at 24 V DC.
| Condition | Risk | Appropriate response |
|---|---|---|
| Narrow differential | Wave action causes repeated switching | Widen the differential |
| Inlet turbulence or pump suction | Float cycles at one level | Add a baffle, stilling tube, or calm chamber |
| Short unavoidable differential | Delayed switching prevents nuisance starts | Add a control-system delay, after confirming switch position |
Install and maintain the float in stable, protected conditions
Install a float level switch for water in calm, protected conditions. Keep the float away from the pump intake, tank wall, inlet jet, ladders and baffles unless the design specifically uses one of these features.
- Route the cable away from moving equipment and sharp edges. Add strain relief at the switch, leave retrieval access, and protect exposed runs with conduit or flexible sleeving against chafe.
- Seal the tank entry with a gland selected for the cable diameter, enclosure rating and tank pressure or vacuum. Tighten it without crushing the cable, and seal unused entries with approved plugs.
- Secure the cable so its weight cannot pull the float out of position. Check that the float moves freely, then protect the connector, junction box and cover from spray and impact.
Turbulence, foam, sludge, suspended solids, mixer flow and a moving inlet stream cause false switching or trap the float. Use a stilling tube, baffle or remote calm chamber when the float must remain in that tank; choose another sensing method when buildup or flow will still obstruct movement.
A control-system delay reduces cycling but cannot fix poor positioning.
Check the float level switch specifications against minimum and maximum liquid temperature, tank pressure or vacuum, liquid properties, mounting orientation and environmental limits. Confirm the rating for the complete cable entry, gland, connector, junction box and cover—not the switch body alone.
In a hazardous area, match the area classification, gas group, temperature class, wiring method and intrinsically safe barrier; waterproof construction is not approval.
At commissioning, move the float through both levels, verify contact continuity, pump start and stop, the alarm, and required fail-safe response to power loss or a broken cable. Inspect for fouling, trapped floats, water ingress, cracked insulation, corroded contacts and stuck pivots.
Compare alternatives and prepare a complete purchase request
A float level switch for water tanks is a point device, while the alternatives suit different risks and data needs.
| Option | Accuracy | Continuous measurement | Contamination sensitivity | Maintenance | Wiring complexity | Failure cost |
|---|---|---|---|---|---|---|
| Float switch | Setpoint-based | No | Fouling can jam movement | Inspect and clean | Low | Overflow or dry running |
| Electrode probes | Conductivity-dependent | No | Coating causes false readings | Clean probes | Low to medium | Missed switching |
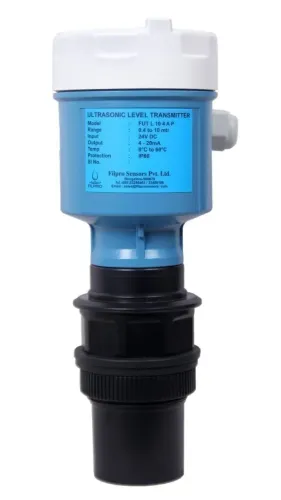
| Ultrasonic sensor | Non-contact level reading | Yes | Foam, vapour and turbulence interfere | Keep face clear | Medium | Incorrect process control |
| Hydrostatic transmitter | Pressure-derived, density-sensitive | Yes | Sediment can block impulse paths | Check vent and calibration | Medium | Undetected drift |
| Pressure switch | Threshold pressure | No | Density and plugged ports matter | Inspect port | Low | Missed alarm |
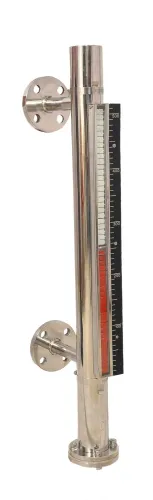
| Magnetic level switch | Setpoint-based | No | Deposits can restrict float | Inspect chamber | Medium | Stuck indication |
Reject a float when you need a very small differential, severe turbulence, heavy fouling, continuous level data, a pressurised vessel, or hazardous-area approval the device lacks. Filpro Sensors Pvt Ltd should be compared using the same documented schedule as every other supplier.
- Tank type, dimensions, mounting position, datum, setpoint heights, switching points, contact form and rising/falling contact logic.
- Load type and current, supply voltage, cable or connector, wetted materials, liquid composition, specific gravity, viscosity, temperature, pressure or vacuum, orientation and ingress rating.
- Required approvals and test documents; request the datasheet, dimensional drawing, contact schematic, material declaration, test certificate, warranty terms, spare-part availability and replacement procedure.
Related products
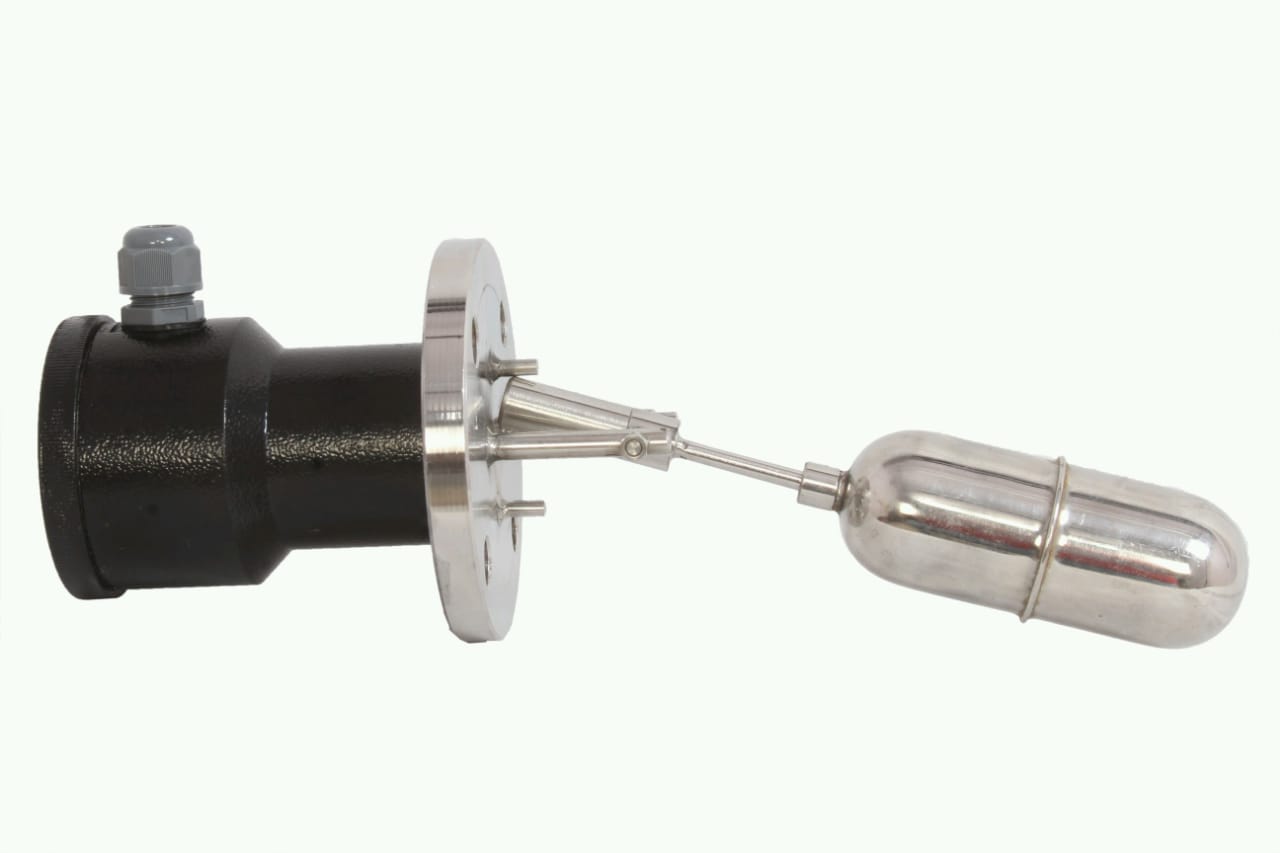 | Level Switch Filpro offers most reliable, cost effective Side Mounted Level Switch for point level sensing. View product → |
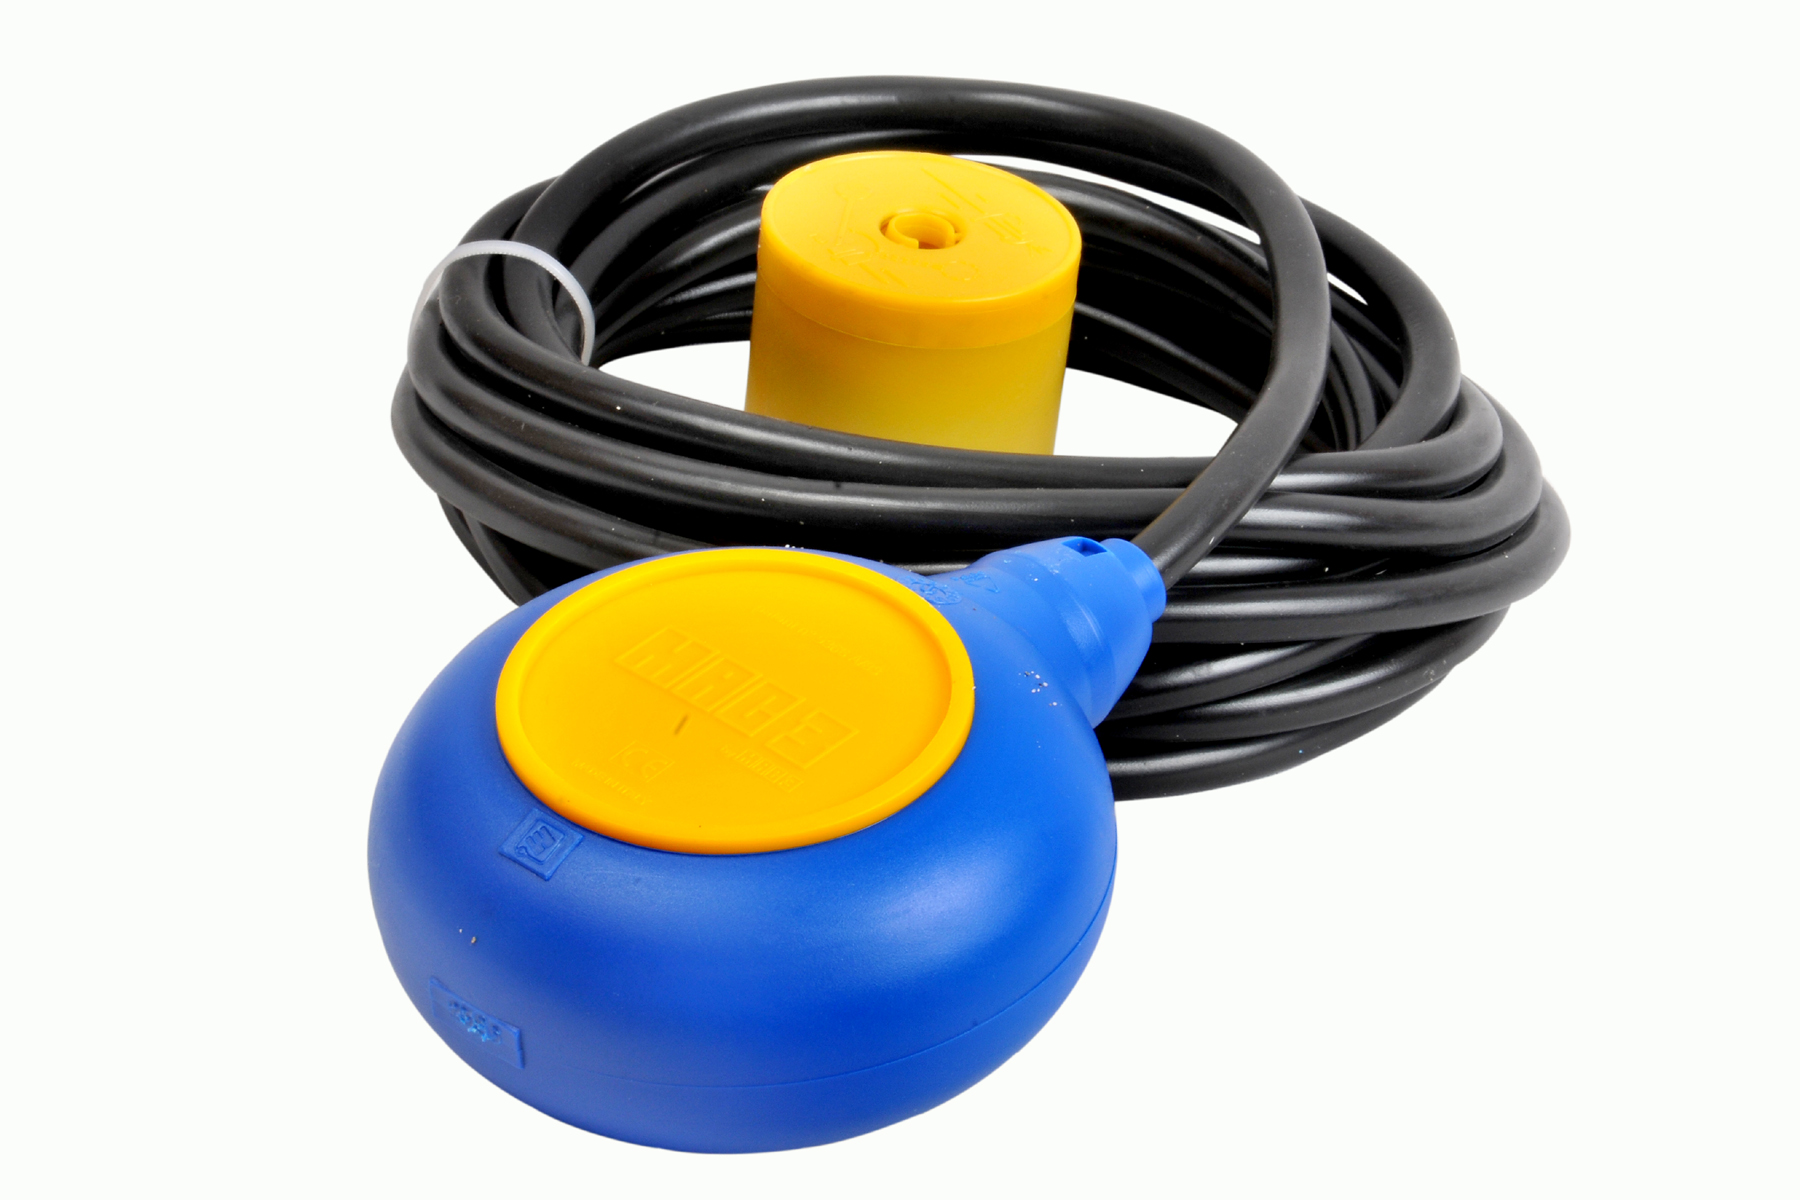 | Level Switch Cable Float Switch is mainly used for the automatic working of small pumps and cellar emptying pumps in liquids a little bit agitated. View product → |
Frequently asked questions
What level event should a float level switch detect?
Define whether the switch must detect high level, low level, overflow, pump start, pump stop, refill, or tank emptying. Select the contact action and setpoint for that event.
Which float level switch specifications must match the tank?
Check the tank liquid, temperature, pressure, float and cable materials, contact voltage and current ratings, cable length, mounting method, and available installation space.
How do you set pump levels without overloading the switch?
Use separate start and stop levels to create hysteresis and prevent rapid cycling. Check the switch contact rating against the pump load, and use a relay or contactor when the motor exceeds that rating.
How should you install and maintain a float in a water tank?
Mount it where turbulence, inlet flow, sludge, internal fittings, and cable movement cannot cause false switching. Inspect the float, cable, mounting hardware, and contact operation during routine tank maintenance.
When should you compare a float switch with another level technology?
Compare it with conductive, ultrasonic, pressure, capacitance, or radar measurement when you need continuous level data, remote monitoring, multiple setpoints, or operation in conditions that restrict float movement.
Related product
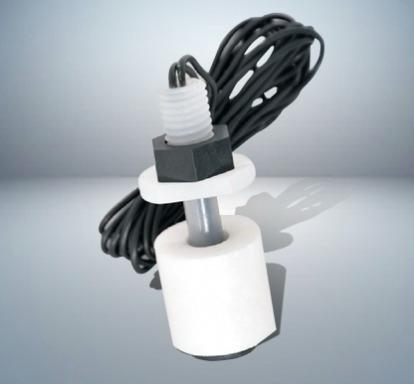 | Level Switch Plastic Miniature Level Switch is available in PP construction with PP Float Switching Voltage: 24V DC Switching current: 0.1A Mounting thread size:... View product → |