A tubular glass indicator is not safe to open until the connected vessel, valves, chamber and process residue have been isolated and verified safe. By the end, you will know when the assembly can be restored, which parts to reject, how to install compatible replacements, and how to return the gauge to service without exposing the new tube to leakage or thermal shock.
Key takeaways
- Prove zero energy with isolation, draining, venting and pressure checks.
- Replace glass with the correct rated tube, gaskets and shields.
- Reject glass with chips, scratches, clouding or damaged sealing surfaces.
- Leak-test and verify level indication before returning the gauge to service.
How do you make the gauge safe before removing the glass?
Make the gauge a zero-energy worksite before loosening any fitting. A closed isolation valve can leak or pass trapped pressure, so it is not proof that the chamber is safe.
1. Stop liquid transfer and apply the site lockout/tagout procedure to pumps, agitators and connected equipment. Lock out the gauge’s upper and lower isolation valves against accidental operation.
2. Close both isolation valves, then drain the chamber into a container compatible with the process liquid. Open the vent or drain as the approved procedure requires, and depressurise the chamber to zero.
3. Verify zero pressure on the installed pressure indicator or through a suitable test point. Do not rely on a quiet drain, an empty-looking tube or the valve position.
4. Let hot liquid and metalwork cool to a safe handling temperature. Rapid cooling or trapped heat can cause burns and thermal shock when the glass is exposed.
5. If the fluid is toxic, corrosive, flammable or otherwise hazardous, purge and decontaminate the gauge and connected piping before removing guards, glands or glass. Follow the site permit, pressure-system procedure and chemical-handling controls.
6. Shield the work area from residual liquid and fragments, and select gloves, face protection, clothing and respiratory protection for the actual chemical and temperature hazard.
This isolation sequence is the foundation of tubular glass level indicator for recovery and all level measuring instruments maintenance involving a pressure boundary.
When should you restore the gauge, and when should you replace it?
Restore the assembly only when the glass, fittings and protective parts pass inspection, and every replacement matches the original specification. Otherwise, replace the damaged component or the complete assembly.
1. Reject the tube for any crack, chip, impact mark, deep scratch, clouding, chemical etching, visibly thinned area or evidence of thermal shock. A clean-looking tube remains unsuitable after exposure to an incompatible chemical or sudden temperature change.
2. Do not grind, polish, patch or reuse damaged glass. The tube is a pressure boundary, not a repairable surface, so these treatments create an unpredictable failure point.
3. Replace or repair the assembly when threads are damaged, packing faces are distorted, valves leak, graduations are unreadable, or the guard and brackets cannot hold the tube correctly. Inspect the full assembly, not only the glass.
4. Before ordering parts, record the failure cause and gauge specification. Check vibration, pipe strain, freezing, corrosion, water hammer, misalignment, over-compressed packing and operation outside the pressure-temperature envelope. Each cause requires correction before service resumes.
This record may point to supports, insulation, heat tracing, different seal or glass material, improved valve operation or a different level-instrument design. That decision separates sound glass tube level indicator repair from repeated failures; tubular glass gauge recovery means returning a safe assembly to service, not repairing compromised glass.
How should you remove and inspect the complete assembly?
Retain or refit the guard before loosening the assembly if it helps contain fragments. Place a compatible container below the gauge for residual liquid, and shield the vessel, drain system and work area from falling glass.
1. Support the tube continuously while loosening the end fittings and gland fasteners gradually. Release both ends in a controlled sequence rather than releasing one side suddenly. Never twist, strike, side-load or force the tube from fittings that are not aligned.
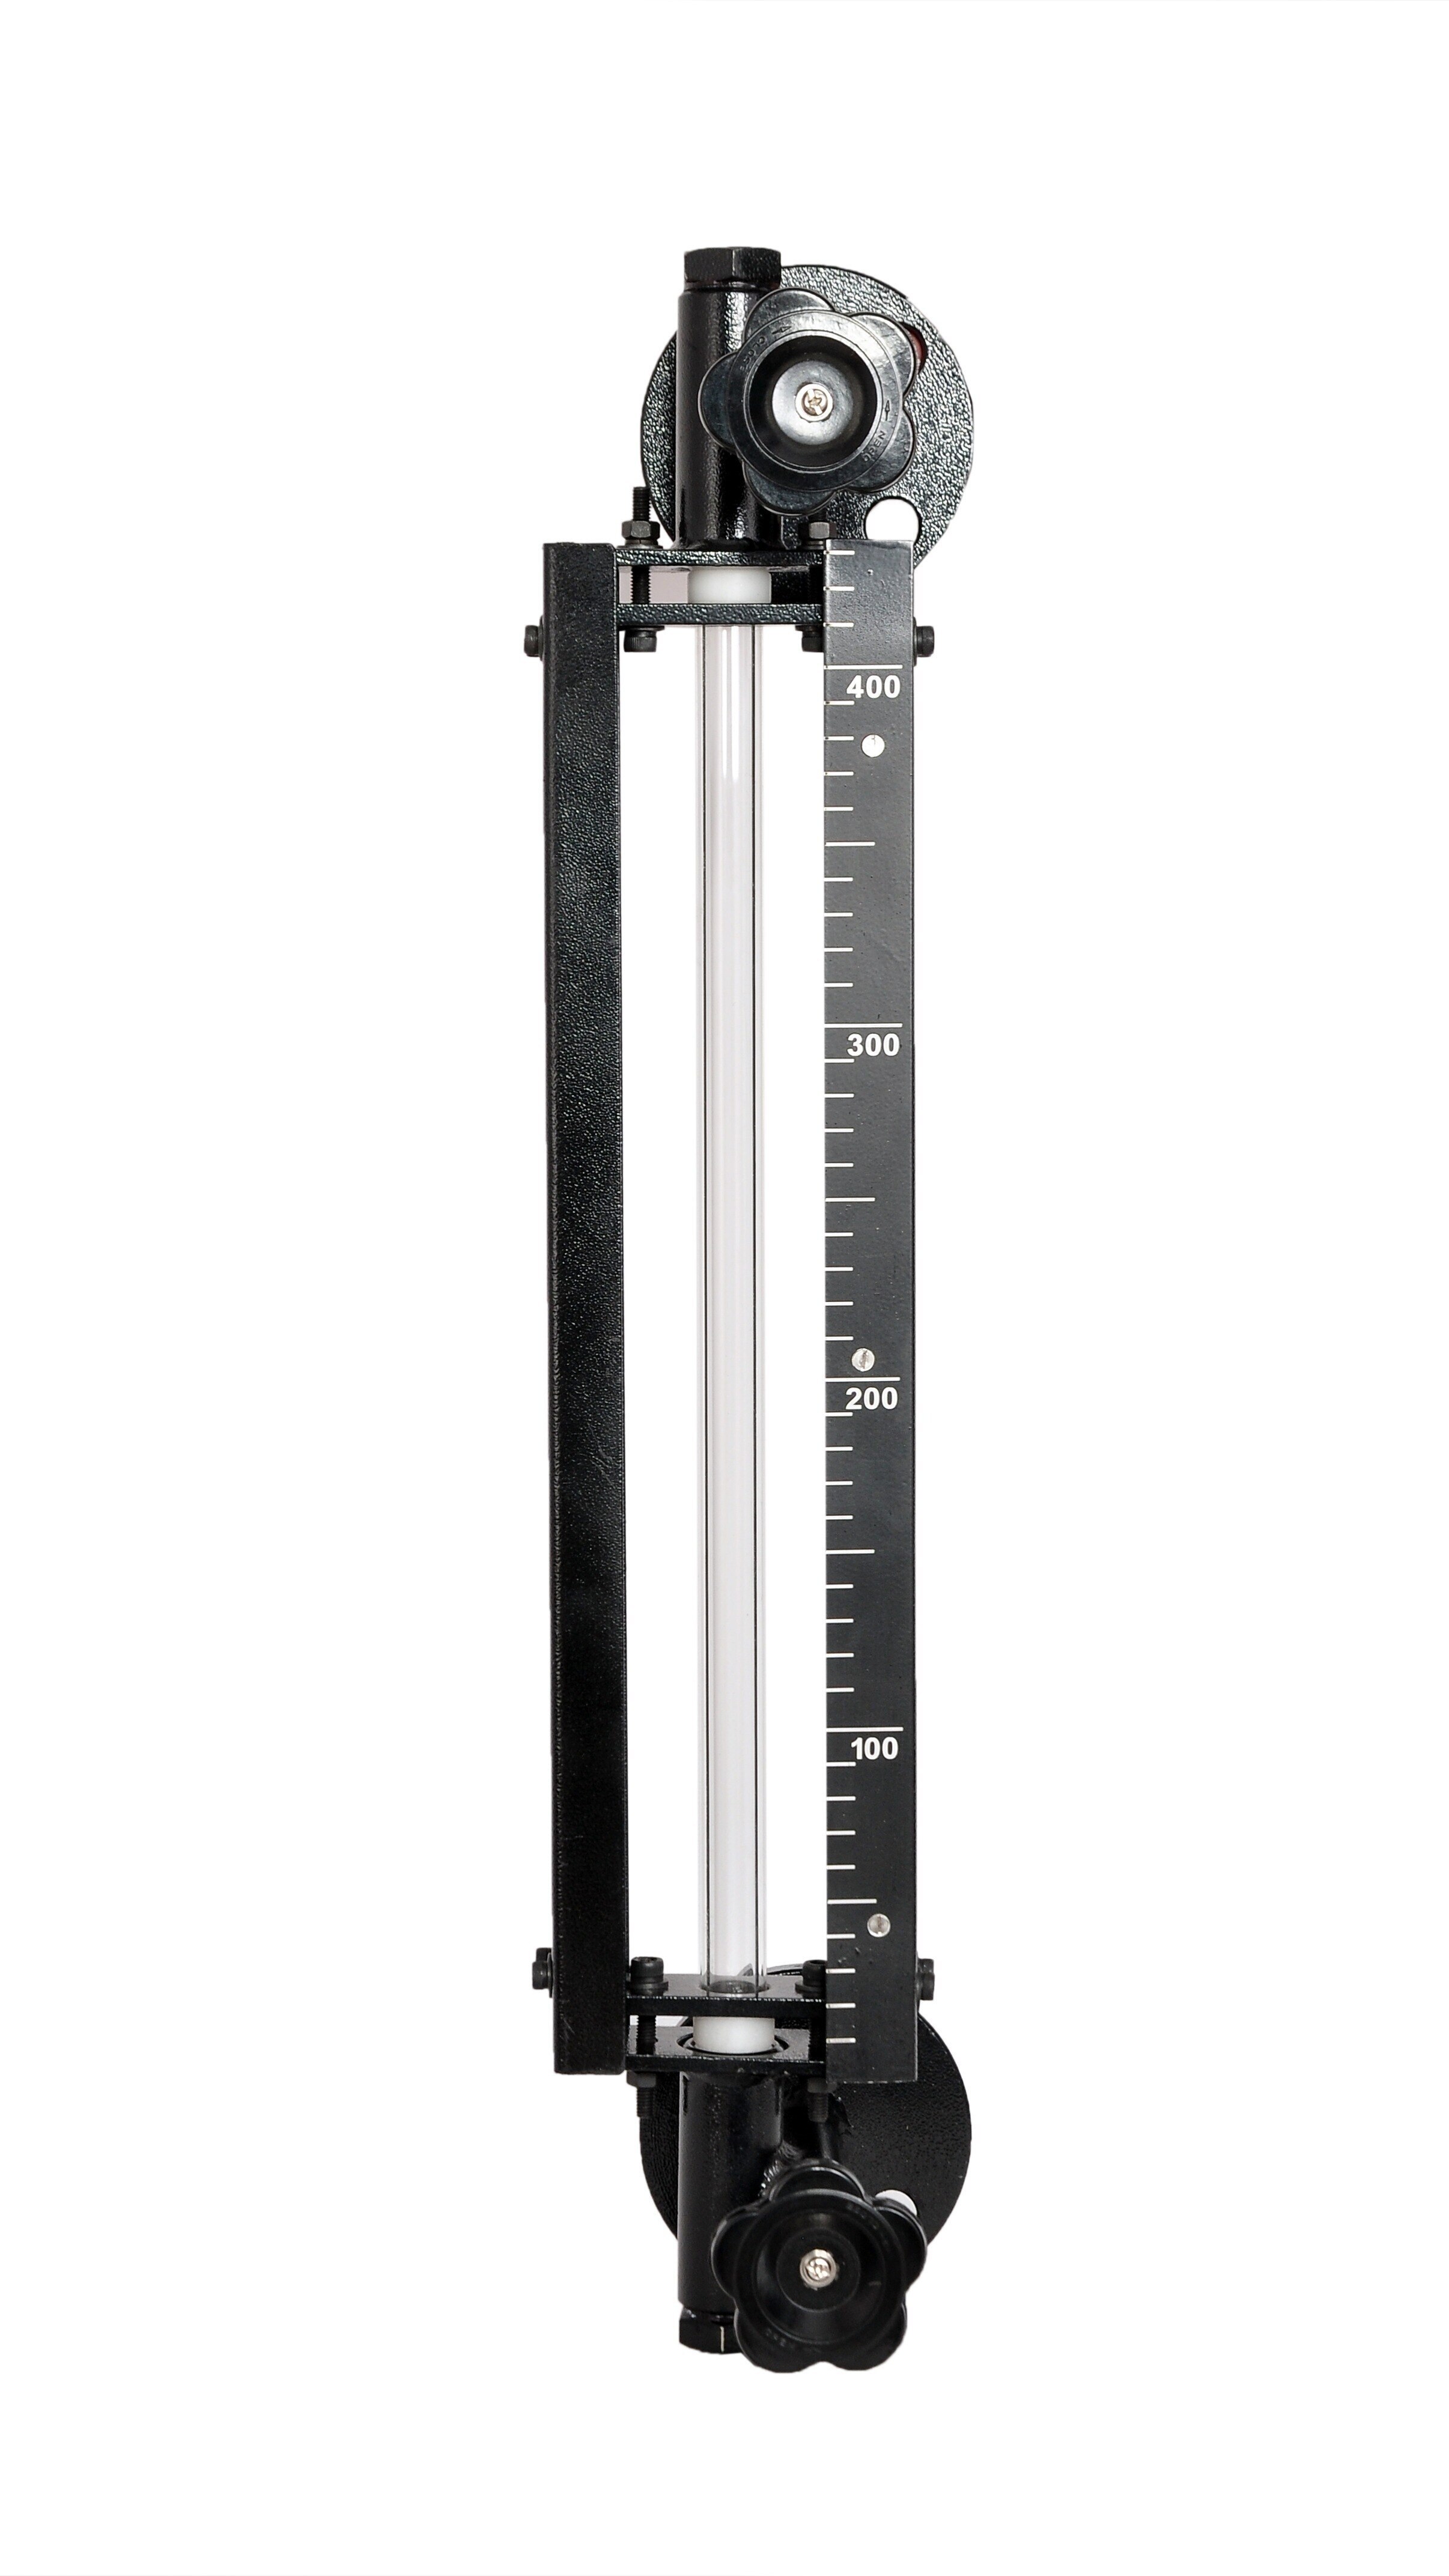
2. After removal, inspect the upper and lower blocks, isolation valves, ball-check or excess-flow devices, drain plug, vent plug, packing glands, washers, gaskets, valve seats, threads, guards, fasteners and mounting brackets. Clear blocked passages and reject hardened packing, corrosion, damaged check balls, bent brackets or sealing faces that no longer sit square.
A new tube cannot correct a blocked connection or a valve that will not isolate flow after breakage.
3. Photograph the complete assembly before disposal. Record the center-to-center length, connection orientation and every part marking so replacement parts match the original arrangement.
Keep the manufacturer’s assembly and test instructions with the inspection record, especially for a boiler, pressure vessel or regulated pressure system. This record strengthens tubular glass level indicator maintenance and gives level measuring instruments maintenance a traceable basis for finding repeat failures.
How do you select, clean and install replacement parts?
Order replacement parts by specification, never by appearance. Confirm the exact centre-to-centre length, tube outside diameter, wall specification, pressure and temperature ratings, liquid compatibility, connection size and orientation, end-fitting design, and manufacturer’s glass designation. A tube that fits the gland can still fail from pressure, thermal shock or chemical attack.
1. Match every gasket, packing ring and washer to the process fluid and operating temperature. If the original designation is missing, send the complete gauge details to the original maker or a qualified manufacturer such as Filpro Sensors Pvt Ltd. Do not guess from gland dimensions; that shortcut can create a pressure-boundary failure.
2. Clean reusable parts with a non-abrasive method compatible with the glass, seal material and residue. Avoid wire brushes, metal scrapers, abrasive pads, uncontrolled caustic cleaners, and solvents that swell seals or leave a film. Rinse and dry the parts without moving the glass rapidly between hot and cold conditions.
3. Fit new compatible seals, keep the tube centred, and seat both ends squarely without twisting, striking or forcing the glass into misaligned fittings. This is essential tubular glass level indicator maintenance and prevents a repeat glass tube level indicator repair.
4. Tighten fasteners evenly in a cross-pattern where the design permits, using the maker’s torque instruction. Never substitute a generic torque value: excessive compression can fracture glass, while insufficient compression causes leakage. Record the part identities and seal materials for the maintenance file.
Related product
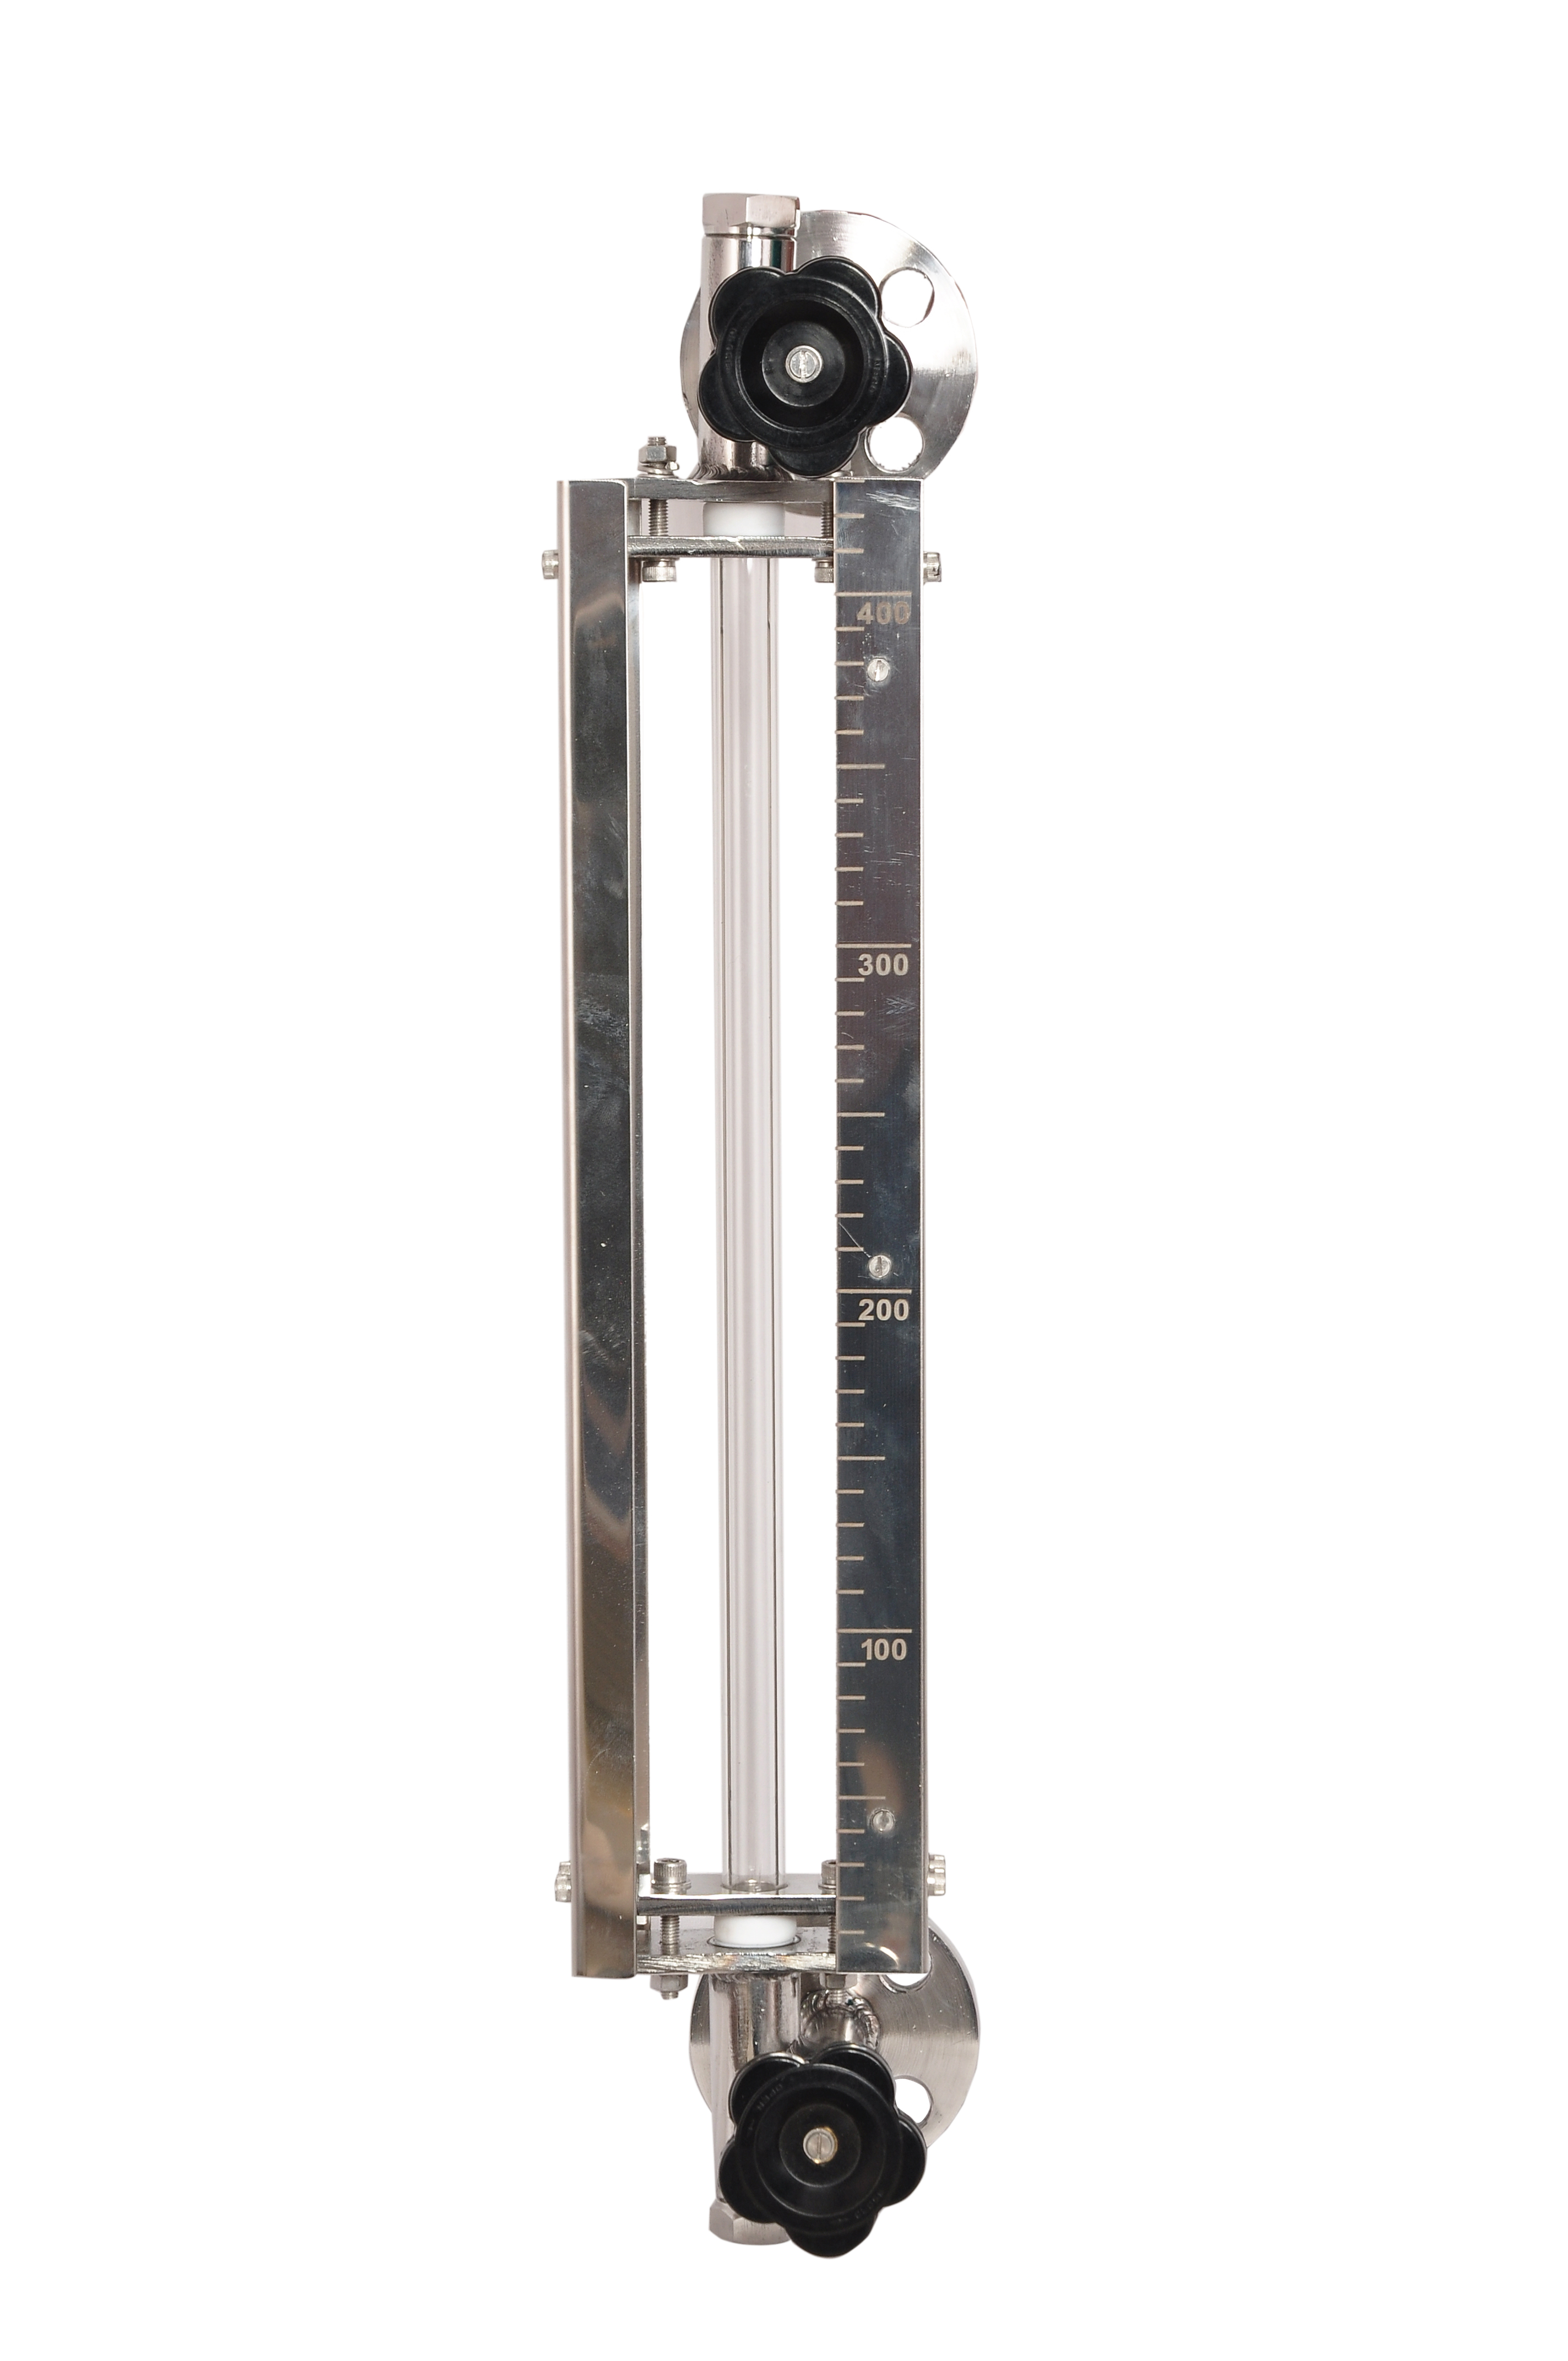 | Level Gauge Tubular Glass Level Indicator is used for visual level indication of liquid in storage and process tanks. View product → |
How do you return the restored indicator to service?
Release the indicator only after the drain is closed, the vent is available where fitted, the guard is secure without touching the glass, and everyone is clear. Admit liquid slowly through the lower isolation valve.
Equalise pressure gradually while watching the packing, end fittings, valves and tube for seepage, abnormal noise or a sudden temperature change.
Open the upper isolation valve only after the chamber behaves normally. Then compare the visible column with an independent indication or a known tank level, and create a controlled change in vessel level to confirm that the column responds.
| Observation | Likely meaning | Required action |
|---|---|---|
| Seepage, noise or sudden temperature change | Leak, thermal shock or unstable admission | Stop admission, isolate and investigate |
| Stable chamber but incorrect visible level | Blocked passage, closed valve, vapour lock, density effect or incorrect gauge position | Check the complete flow path and gauge position |
| Visible column tracks the controlled level change | Functional indication confirmed | Proceed to documented release |
A discrepancy does not automatically prove a defective tube. Do not place the gauge into full operation until the leak check and functional check pass.
Record the tube identity, seal and packing materials, inspection findings, pressure-test or leak-test result, guard condition, operating limits, failure cause and person authorising release. This controlled sequence supports tubular glass gauge recovery and provides a defensible record for level measuring instruments maintenance involving a tubular glass level indicator for recovery.
Frequently asked questions
How do you make a tubular glass level indicator safe before removing the glass?
Isolate the chamber, close and lock the process valves, drain the gauge, vent trapped pressure, and confirm zero pressure before loosening fittings. Treat a closed valve as unreliable until you verify the gauge is depressurised and empty.
When should you restore the gauge, and when should you replace it?
Restore the assembly when the body, valves, threads and sealing faces remain sound and the correct replacement parts are available. Replace the glass for any chip, crack, deep scratch, clouding or damaged end; replace the complete gauge when the body or valve seats are corroded or distorted.
How should you remove and inspect the complete assembly?
Remove guards and fittings without twisting the glass, then inspect the tube, gaskets, packing, valves, bolts, threads and sealing faces. Check for corrosion, erosion, blocked passages and evidence of previous leaks before choosing replacement parts.
How do you select, clean and install replacement parts?
Match the glass dimensions, pressure and temperature rating, material, gasket profile and valve connections to the gauge documentation. Clean sealing faces with a non-abrasive method, install undamaged gaskets, tighten evenly, and avoid side loading the tube.
How do you return a restored indicator to service?
Confirm every drain and vent is closed, open process connections gradually, check for leaks, and verify that the liquid level responds correctly. Refit the guard, record the parts and inspection results, and stop the test if the glass fogs, leaks or shows abnormal stress.