A level gauge glass requires more than a quick check for leaks: cracks, edge damage, clouding, chemical attack and rating mismatches can make it unsafe or unreadable before it visibly fails. By the end, you will know how to inspect the glass, isolate the gauge, choose the correct replacement assembly and verify it before returning the equipment to service.
Key takeaways
- Remove cracked, chipped, leaking, or deeply scratched glass from service immediately.
- Replace glass when deposits or clouding prevent a reliable level reading.
- Match the replacement glass, gaskets, seals, and hardware to the gauge model.
- Isolate, depressurise, drain, and leak-test the gauge before returning it to service.
Which damage means the gauge glass must come out of service immediately?
The level gauge glass replacement requirements are immediate: isolate the gauge and replace any pressure-retaining section with a crack, chip, edge damage, star-shaped impact mark, impact mark, deep scratch, leakage, damaged end seal or other visible discontinuity.
A failed glass is not the only replacement condition; apparently superficial damage can reduce pressure resistance and create a failure-initiation site.
- Inspect before each use, after thermal shock or a pressure excursion, and during planned shutdowns.
- Do not grind, polish, scrape, sand or chemically rework the glass. Removing material changes the rated section and can turn a small flaw into a pressure failure.
- Replace clouded, permanently whitened, etched or pitted glass, or any glass that no longer provides a clear sight path. For reflex gauges, worn prisms or reflective grooves also justify replacement.
External staining is not automatically damage, but clean it carefully without abrasion and inspect what remains:
| Condition | Meaning | Required action |
|---|---|---|
| Removable residue on the outside | Deposits or staining sit on the surface | Clean safely and reinspect |
| Pit, etch, whitening or scratch remaining after cleaning | The glass wall or optical surface is damaged | Isolate and replace |
| Leakage or a damaged end seal | The pressure boundary is no longer reliable | Isolate immediately and replace the affected pressure-retaining section |
A replacement must match the gauge design, dimensions, glass type, thickness, end configuration and pressure-temperature rating—not merely the visible length.
When do clouding, deposits and optical wear require replacement?
An intact-looking gauge glass requires replacement when its optical condition prevents a clear, reliable sight path; readability is a functional safety requirement, not a cosmetic preference. Permanent whitening, internal clouding, etching, pitting, or deposits that cannot be removed without abrasion meet level gauge glass replacement requirements even when no crack is visible.
- Wipe external staining with the approved nonabrasive cleaning method. If the haze remains, lies inside the glass wall, or reveals chemical attack, treat it as damage rather than dirt.
- For a reflex gauge, replace the pane when its molded prism or reflective grooves are worn, damaged, or degraded enough that liquid and vapour no longer show distinct contrast.
- For a transparent gauge, inspect both viewing panes and their seals after one pane is damaged. Replace one pane or the complete set according to the gauge construction and the OEM service kit.
- Replace a mica shield in steam or aggressive alkaline service when it is cracked, delaminated, burned, severely clouded, or degraded enough to impair indication.
- Do not grind, polish, scrape, or sand away deposits or surface damage. Removing material changes the rated section and can create a failure point.
There is no universal calendar interval for this work. Base the decision on inspection findings, service severity, the equipment manufacturer’s instructions, and the governing vessel, boiler, or pressure-equipment code. A clear reading must remain possible throughout operation.
How often should you inspect a level gauge glass?
There is no universal calendar-based replacement interval for a level gauge glass. Level gauge glass replacement requirements depend on its condition, the manufacturer’s instructions, service severity, and the governing vessel, boiler, or pressure-equipment code. Use this routine:
1. Before each use, inspect the viewing surface and edges, end seals, gaskets, packing, retainers, guard rods, valves, drains, and mounting hardware. Look for leakage, vibration, blocked connections, loose fasteners, or distorted components.
2. Repeat the check after thermal shock and after a pressure excursion. Confirm that the valves pass fluid freely, the gauge responds across the expected level range, and no leak or abnormal vibration has appeared.
3. During every planned shutdown, isolate and depressurize the gauge before examining seats, seals, retainers, drains, and mounting alignment. Check for pipe strain and components pulled out of position.
4. Treat a leak as an assembly fault until inspection proves otherwise. A hardened gasket, damaged seat, loose retainer, blocked drain, or incorrect assembly can leak without a defective pane. Do not keep tightening: excess torque can fracture the glass. Follow the manufacturer’s torque and tightening sequence.
Repeated failures require a service review, not repeated like-for-like replacement. Investigate rapid hot or cold admission, water hammer, corrosive or erosive chemistry, pipe strain, misalignment, vibration, and pressure-temperature excursions before installing another glass.
How do you choose the correct replacement glass and service kit?
Choose replacement glass from the installed gauge’s manufacturer-approved data, not from appearance or a broken fragment. The level gauge glass replacement requirements begin with the gauge model and tag number, then confirm construction, dimensions, ratings and wetted-material compatibility. Measure a damaged piece only as a cross-check; breakage can alter its length or distort its edges.
- Confirm tubular, reflex, transparent or magnetic-level-gauge window construction.
- Record visible length, outside diameter or width, wall thickness, centre-to-centre dimension and end configuration.
- Specify the glass grade, pressure rating, temperature rating, temperature derating and compatibility with the process liquid.
- Check whether the data sheet identifies DIN 7080 pressure sight glass or DIN 7081 reflex gauge glass.
- Order the manufacturer’s service kit: new gaskets, packing, cushions, washers and seals, plus mica shields, guard components, valves, drain fittings and mounting hardware where fitted.
| Construction | Selection detail | Wrong choice consequence |
|---|---|---|
| Tubular | Match diameter, wall thickness, visible length and end fittings | Leakage or glass failure |
| Reflex | Match the moulded prism and groove pattern, not only length | Lost liquid-vapour contrast |
| Transparent | Match both viewing panes, seals and centre-to-centre spacing | Uneven loading or leakage |
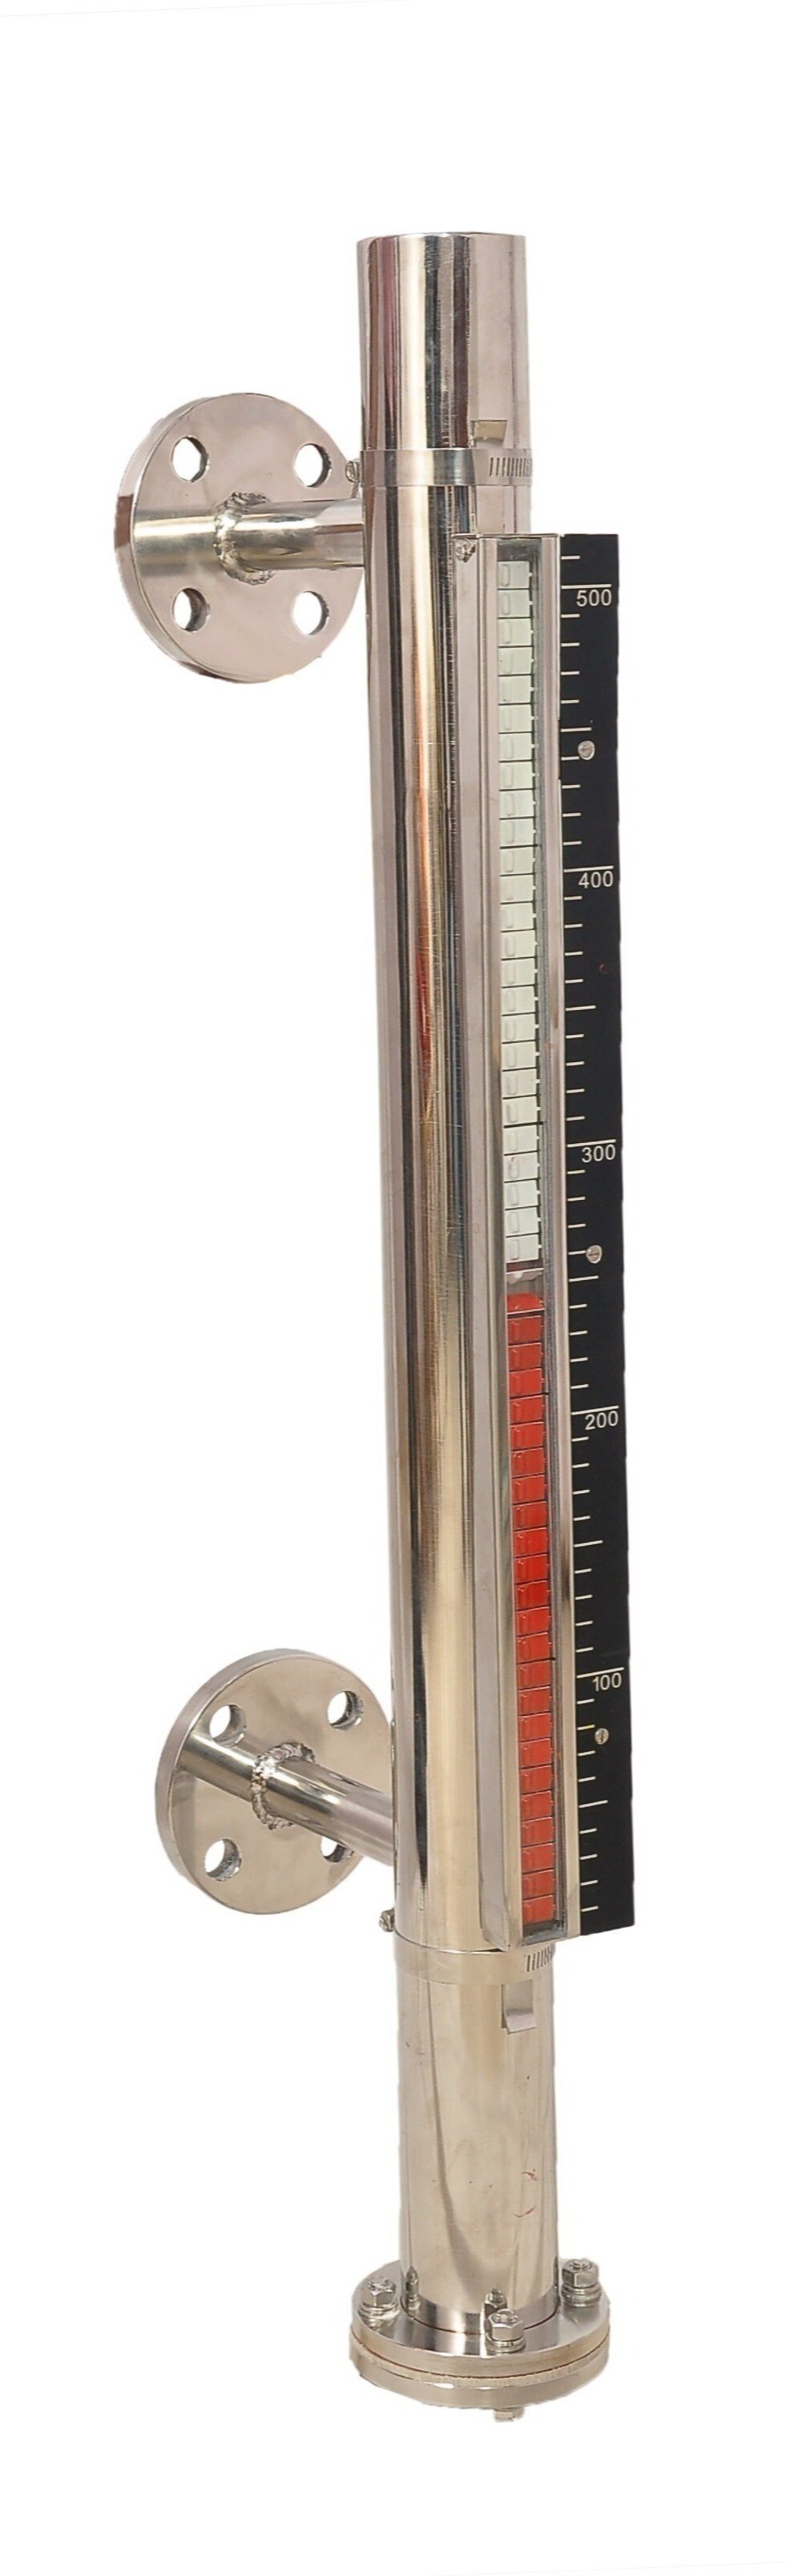
| Magnetic window | Match the chamber window, pressure boundary and wetted materials | A clear pane that does not suit the gauge |
Ordinary window glass is unacceptable: it lacks the specified borosilicate or approved gauge-glass strength, pressure capability and thermal resistance. Filpro Sensors Pvt Ltd can help interpret an installed gauge tag and service data, but the design and manufacturer-approved rating must decide the replacement.
Related product
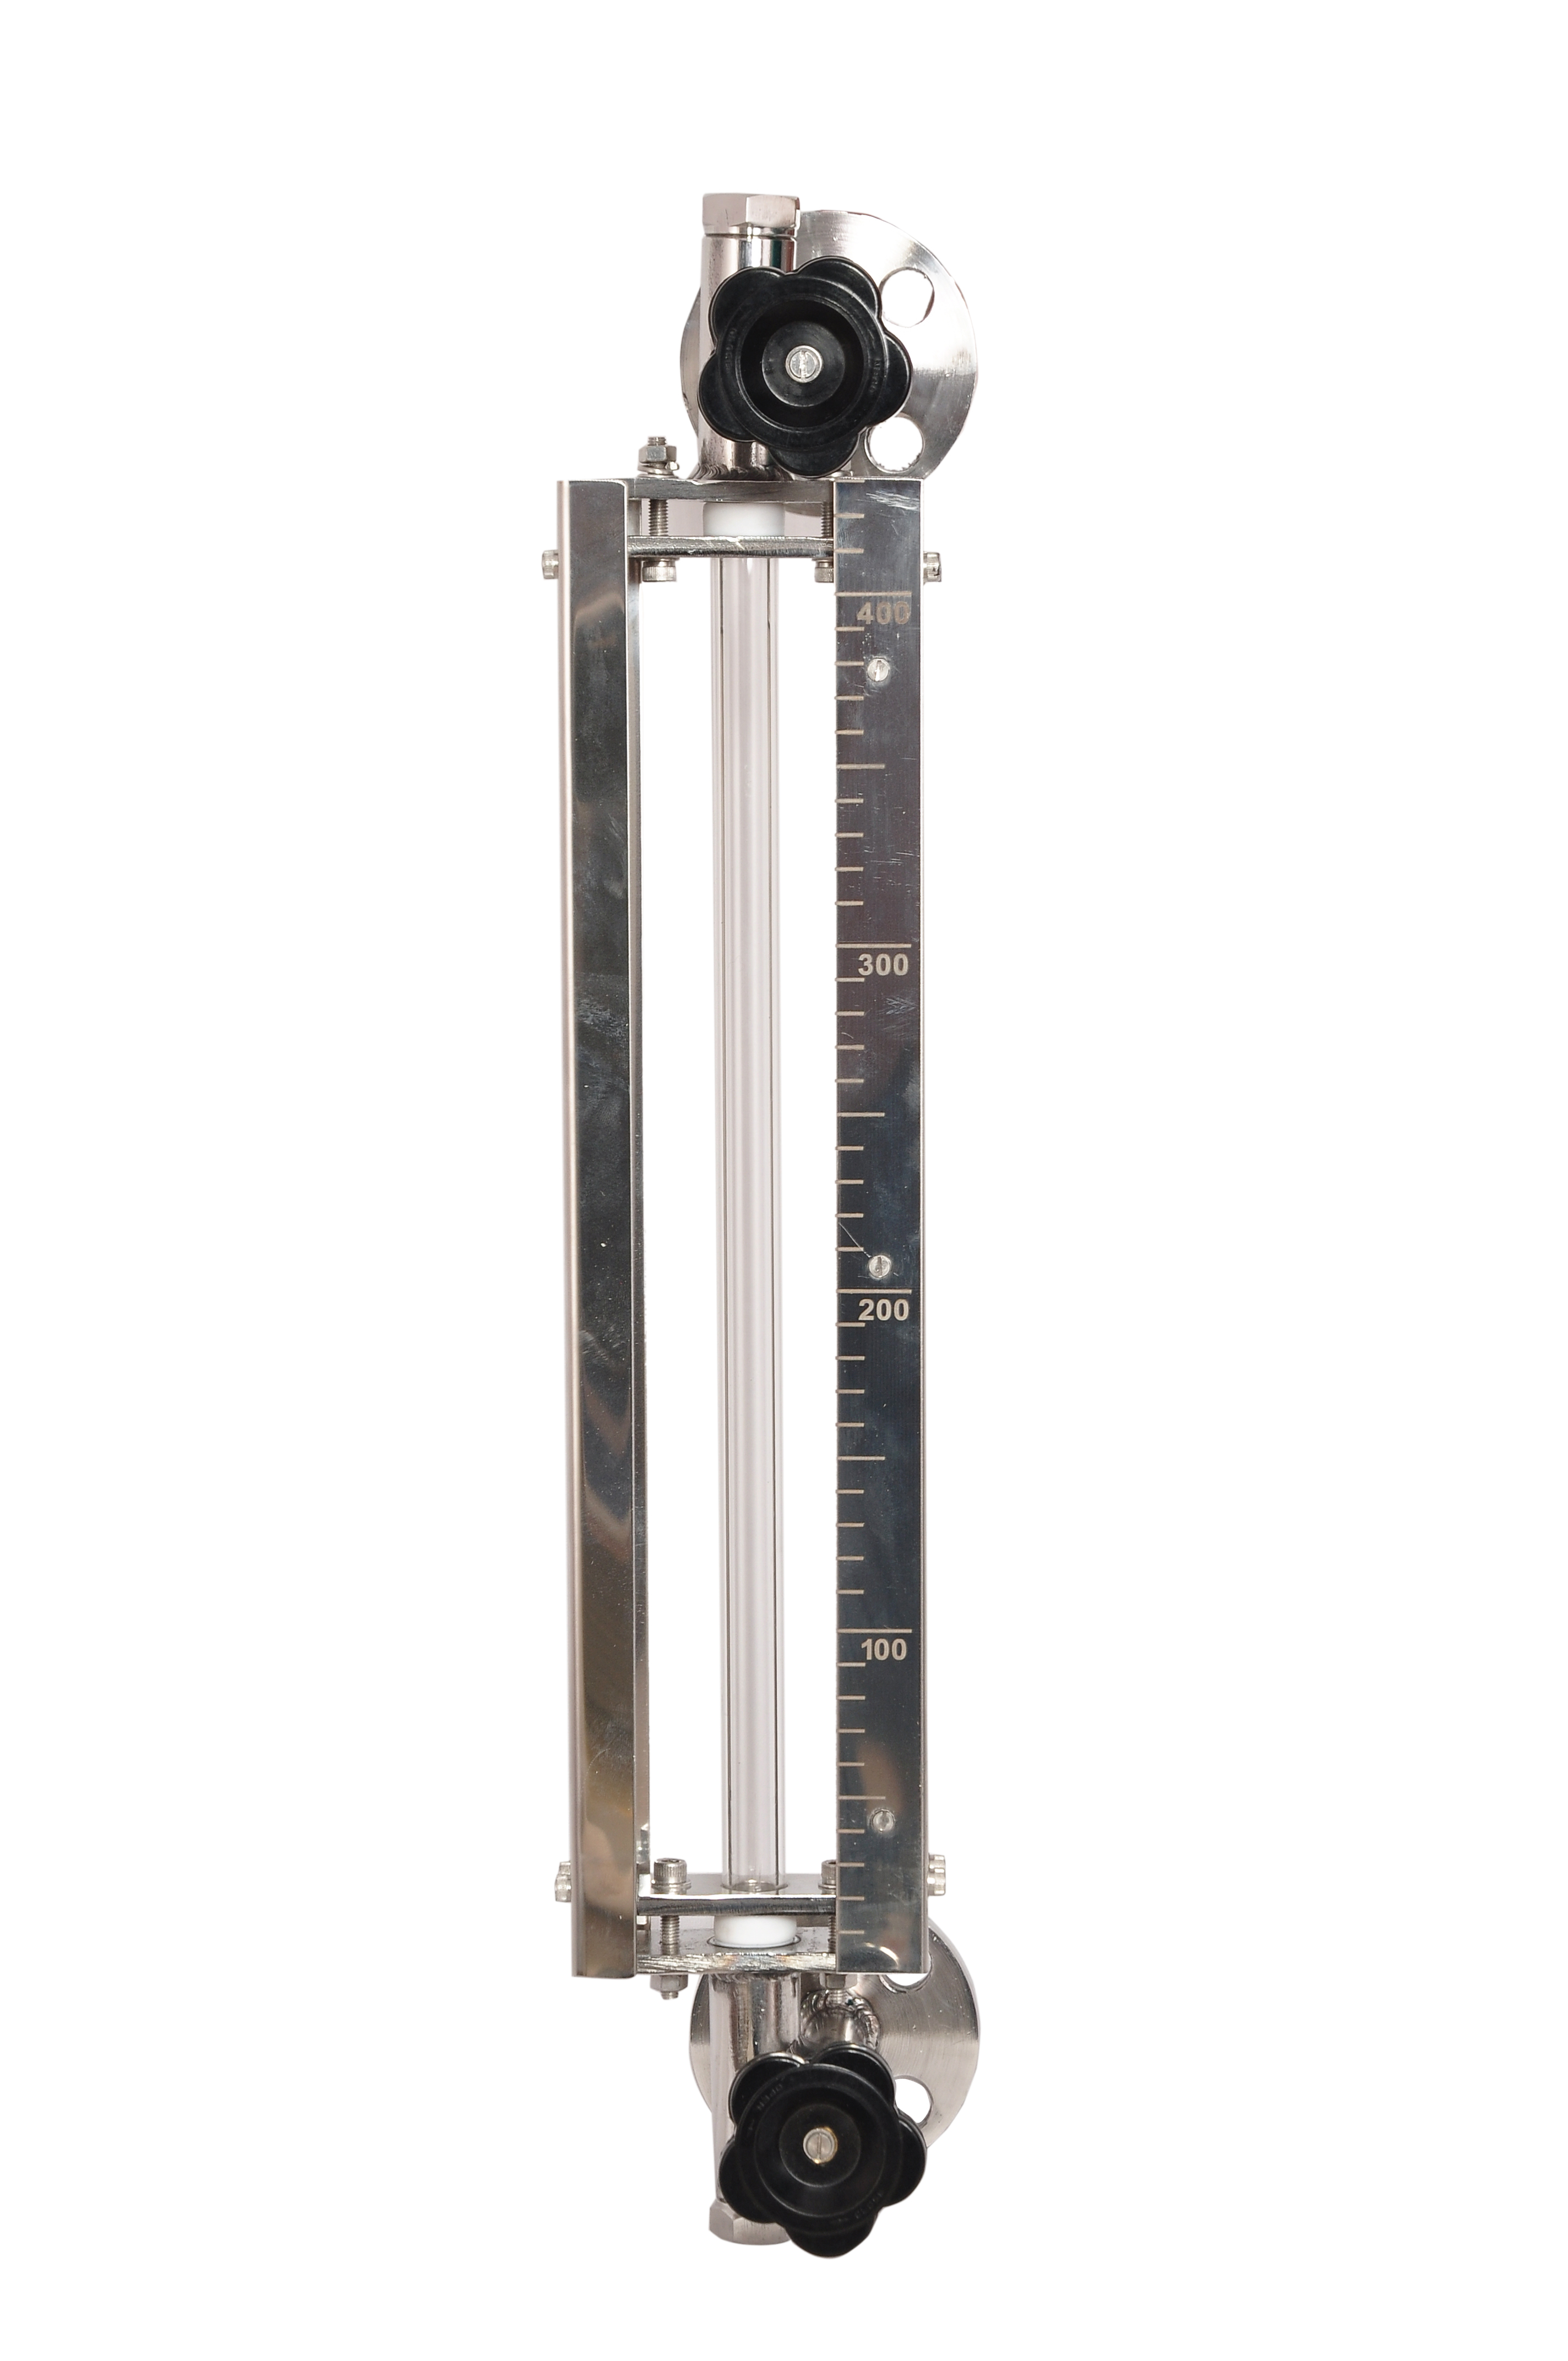 | Level Gauge Tubular Glass Level Indicator is used for visual level indication of liquid in storage and process tanks. View product → |
What must happen before and after the glass is replaced?
1. Apply the level gauge glass replacement requirements in your site procedure before touching the gauge. Positively isolate it from the process using the approved isolation method, then lock and tag the isolation. A ball-check or automatic shutoff valve limits release if the glass breaks; it does not prove isolation.
2. Depressurise the chamber and gauge connections, drain or vent trapped liquid, and confirm zero pressure at a suitable point. Wait until the assembly reaches a safe temperature. Treat every gauge as hazardous until proven otherwise: its contents may be hot, toxic, corrosive, flammable or pressurised.
3. Remove the damaged glass, retainers and old sealing materials with the gauge fully safe. Install compatible new gaskets, packing, cushions and any specified mica shield or protective component. Tighten retainers to the manufacturer’s sequence and torque; overtightening can break the replacement glass.
4. Return the gauge to service gradually. Admit process pressure or heat in a controlled manner to prevent pressure shock and thermal shock. Check free flow through both gauge valves, clear indication across the expected level range, leak-free joints, and correct operation of drains, vents, illumination and protective shields.
5. Record the gauge tag, glass and gasket part numbers, material, rating, reason for replacement, isolation and test results, and the person who performed the work. In a regulated process, OSHA Process Safety Management mechanical-integrity expectations call for recognised good engineering practice and correction of hazardous deficiencies before continued use.
Repeated failures require a service review for vibration, water hammer, blocked connections or thermal shock.
Frequently asked questions
Which damage means a level gauge glass must come out of service immediately?
Remove the gauge from service for cracks, chips, edge damage, star-shaped impact marks, deep scratches, leakage, damaged seals, or any visible discontinuity.
When do clouding, deposits, and optical wear require replacement?
Replace the glass when clouding, deposits, etching, or scratches prevent you from reading the liquid level clearly and reliably.
How often should you inspect a level gauge glass?
Inspect it during routine operator rounds and scheduled maintenance, plus after impact, overheating, pressure events, or any suspected leakage.
How do you choose the correct replacement glass and service kit?
Match the gauge model, glass dimensions, pressure and temperature rating, seal material, gaskets, and manufacturer-approved service components.
What must happen before and after the glass is replaced?
Before replacement, isolate, depressurise, drain, and cool the gauge; afterward, inspect the assembly, restore pressure gradually, and check for leaks.